Week of Weird Constructions 1
The first week of weird constructions started out with this website and the first post. I'm glad the Zola website generator I use for this website works so good. Especially because it's written in Rust.
HexoTK HexKnob
But now to my projects. I've not yet written an introduction for HexoSynth and I wont do it quite now. Only so much: It's an audio synthesis environment with a certain style. And it's one of my big projects I've been working on in 2021. The GUI had quite some development road behind it. Originally I wrote HexoTK quite simple. But I saw performance problems on the horizon, it ate 20% CPU for basically doing nothing. To fix that I needed to cache the widget output. And then I did something I usually don't do, which is using a library that is not "there yet" with tuix. You can find my so far successful try of implementing the GUI here: HexoSynth tuix GUI
I hoped it would become the future of HexoSynth, but tuix development more or less halted for the new VIZIA. After having too many friction points with the declarative style I decided to go back to HexoTK and I completely reimplemented it by now. These days are only consisting of reimplementing all the widgets that were there before. Luckily I can reuse most of HexoSynth tuix GUI, because the drawing code (which is the most complex part) can be reused almost 100%. Big thanks go out to the femtovg 2D vector library for their efforts.
And so I reimplemented one of the most important widgets last week, which is the HexKnob. A fully featured value knob with an iconic shape that fits into HexoSynth just fine. The layout of HexoTK is done by morphorm which is the layout engine I took over from tuix. In the video you see the HexKnob being interacted with the mouse and being rescaled by the GUI layout engine:
Reading/Writing an SD card with Embedded Rust
I've also worked on a piece of code to read and write an SD card from the Raspberry Pi Pico. That would of course not be a problem if I was using C++ still. But I am using Rust for everything these days, so I dived further in to the embedded Rust ecosystem. And it has been really nice so far. There are traits for all important interfaces on a microcontroller and generic driver implementations are all over crates.io. So my searches turned up the Embedded SD/MMC crate embedded-sdmmc.
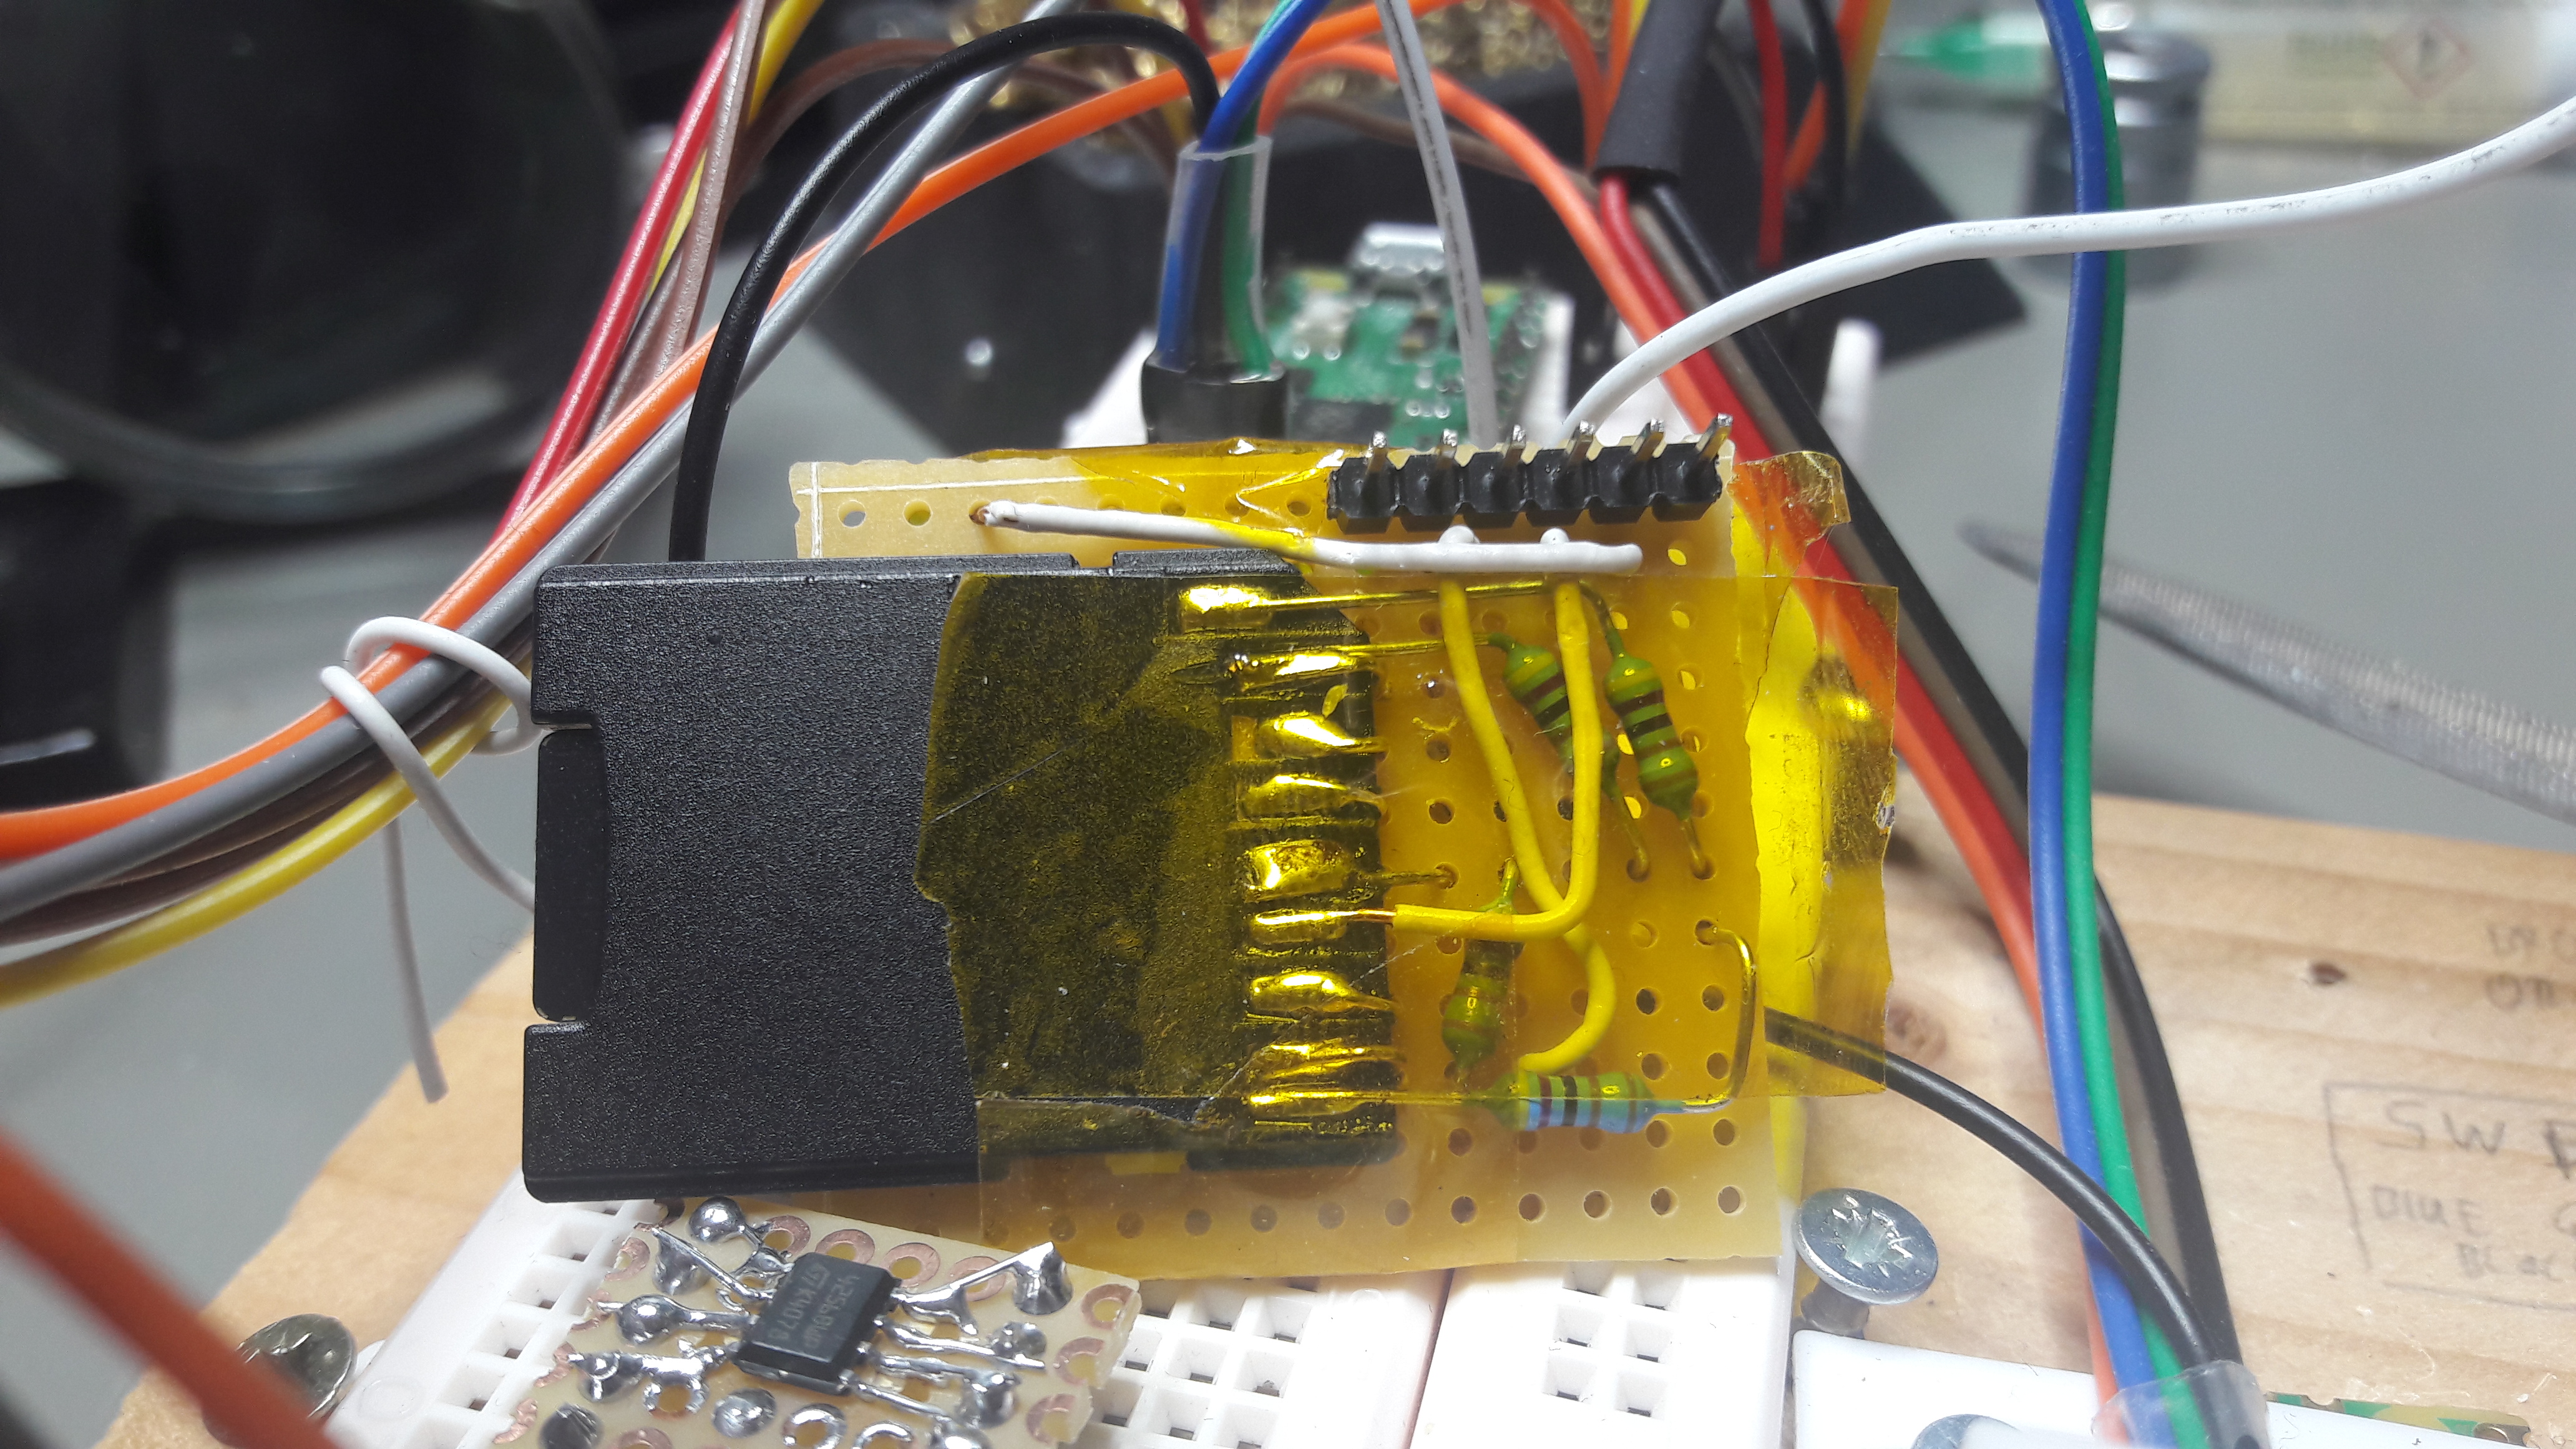
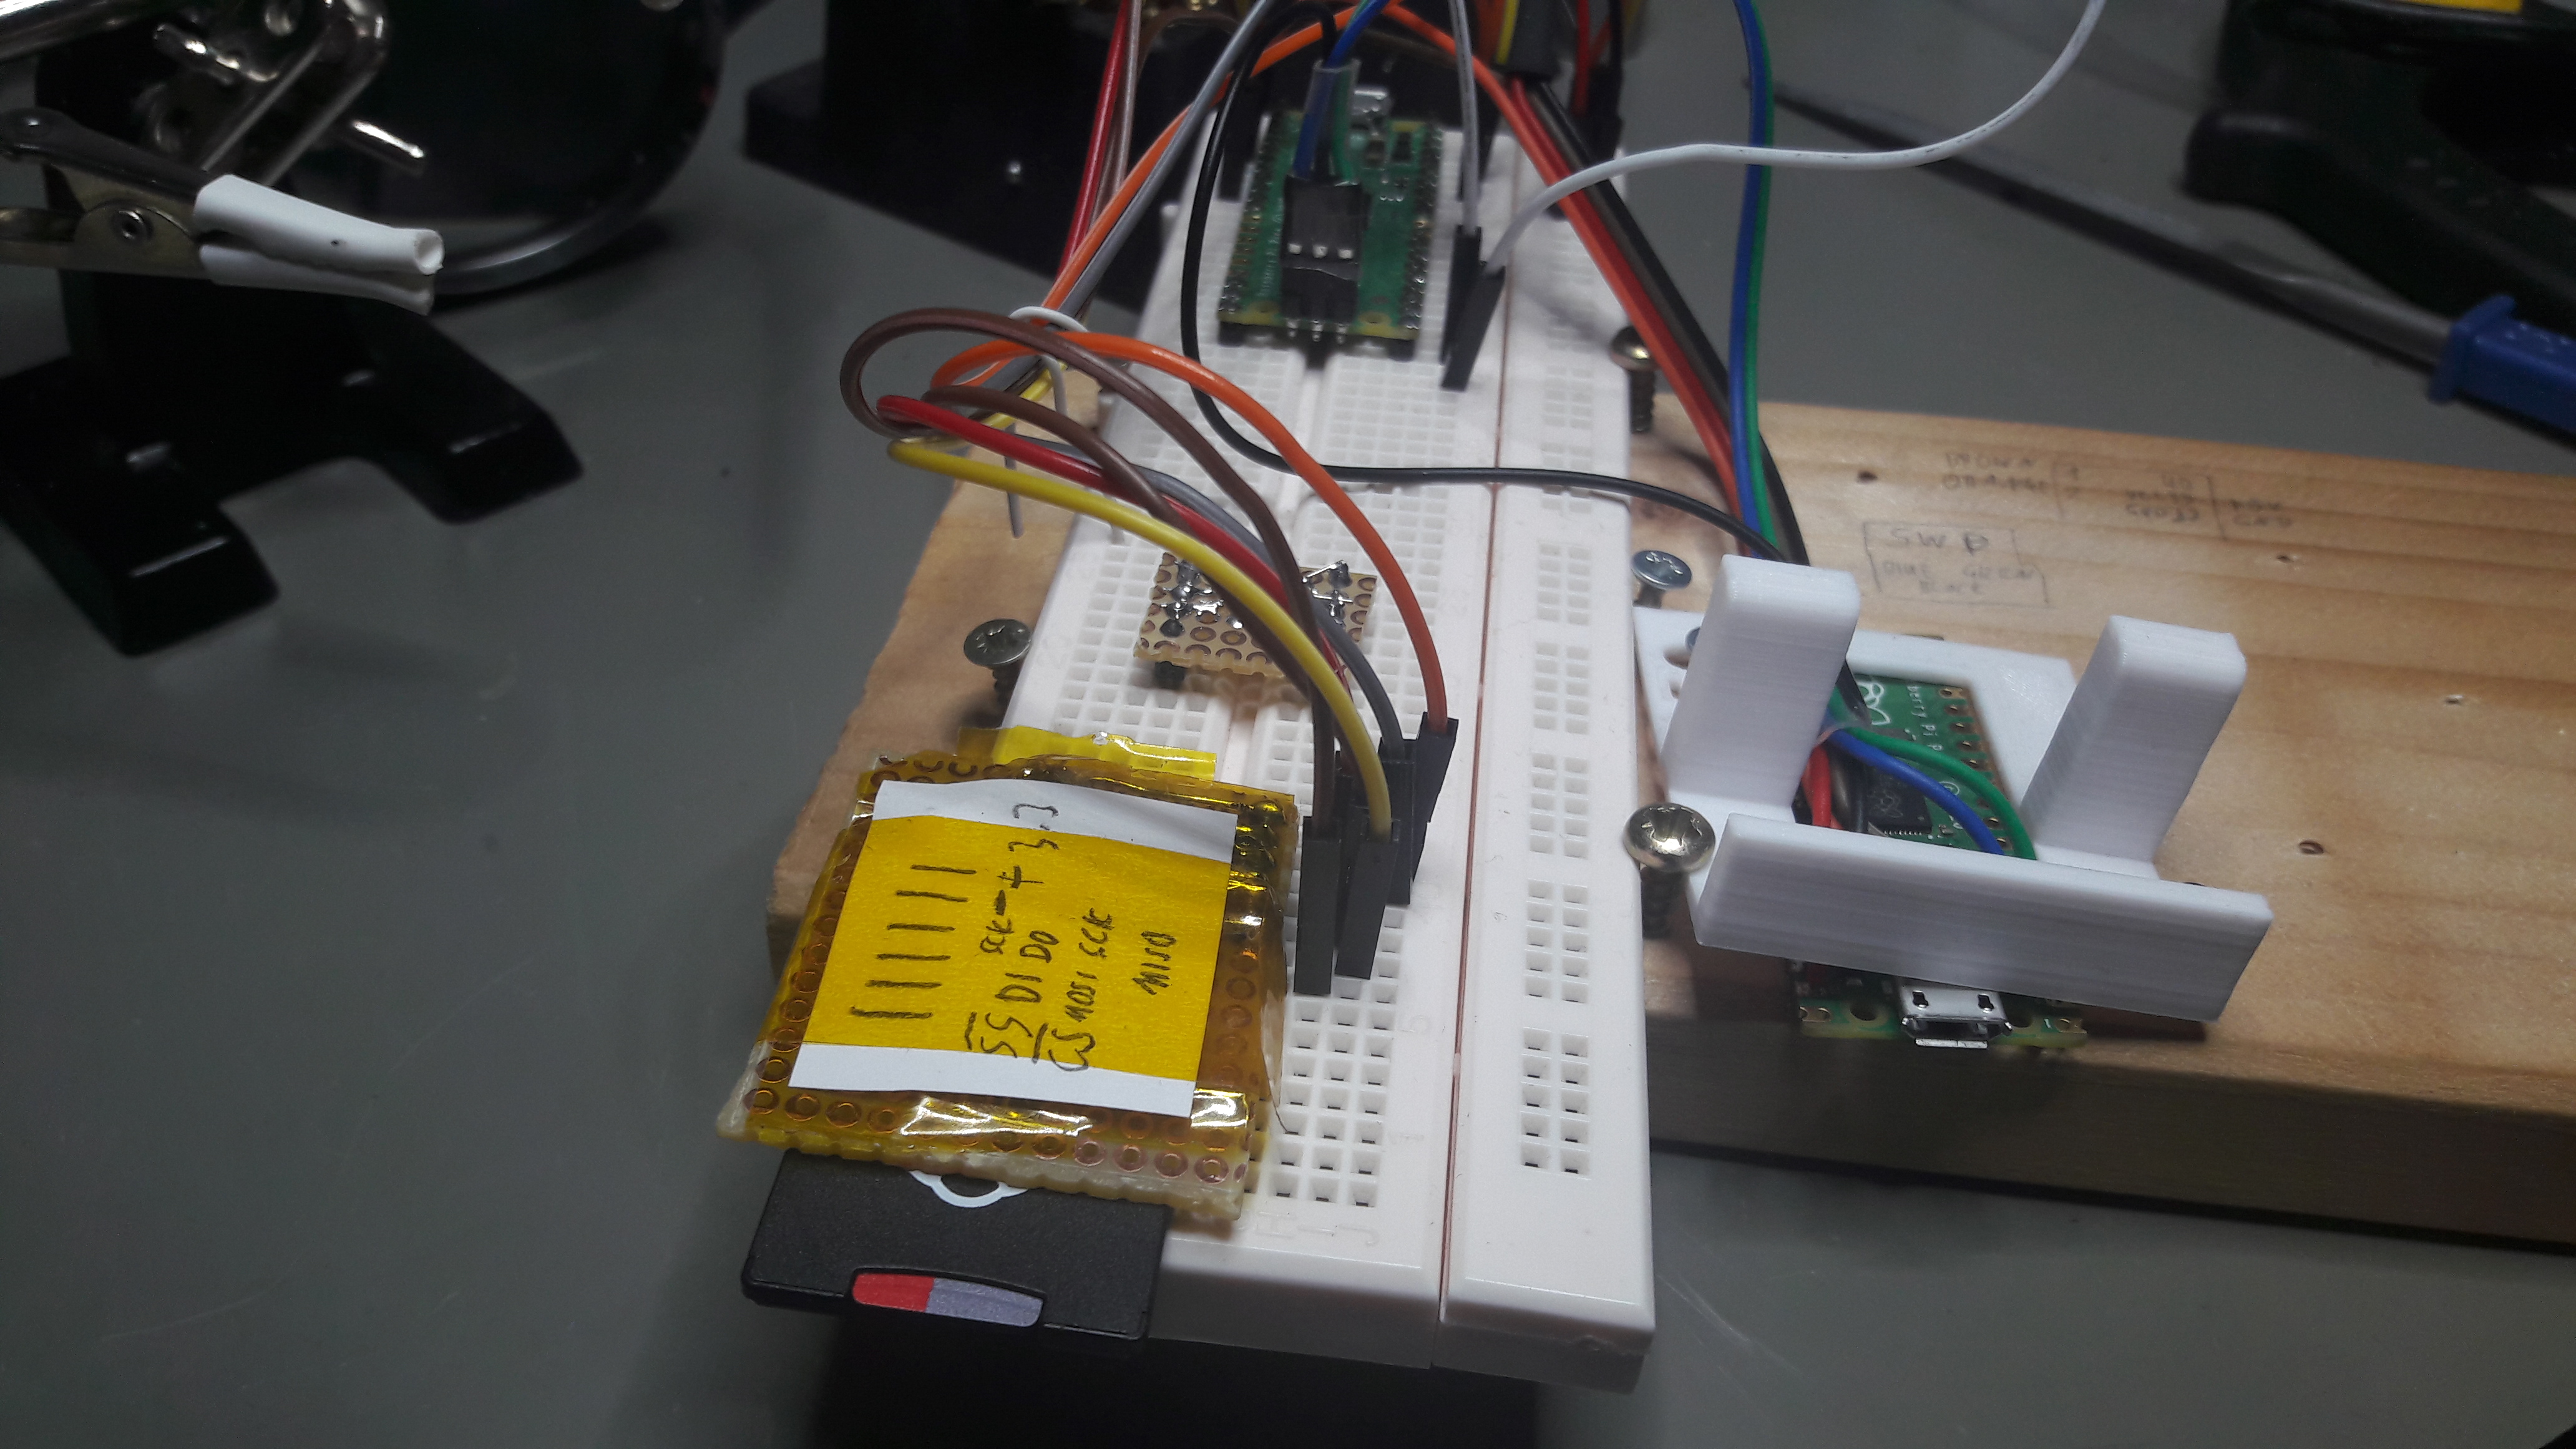
But first I needed to solder myself an SD card holder. Because I did not yet order a set of SD card holders, I decided to quickly DIY one. I've used a Micro SD card adapter and hot glued it onto a perf board as you can see in the following pictures:
I ended up with relatively straight forward code in Rust. You can find the Rust SD Card SPI example code. in my RustRP2040Code repository.
Here is a snippet from that example, which is not that spectacular, but it shows how usual the high level file accessing code worked:
    cont.iterate_dir(&v, &dir, |ent| {
        info!("/{}.{}",
            core::str::from_utf8(ent.name.base_name()).unwrap(),
            core::str::from_utf8(ent.name.extension()).unwrap());
    }).unwrap();

    let mut file =
        cont.open_file_in_dir(
            &mut v, &dir, "O.TST",
            Mode::ReadOnly).unwrap();

    let mut buf = [0u8; 32];
    let nr = cont.read(&mut v, &mut file, &mut buf).unwrap();
    cont.close_file(&v, file).unwrap();

    info!("READ {} bytes: {}", nr, buf);

    let mut file =
        cont.open_file_in_dir(
            &mut v, &dir, "O.TST",
            Mode::ReadWriteCreateOrTruncate).unwrap();
    cont.write(&mut v, &mut file, b"foobar123\n").unwrap();
    cont.close_file(&v, file).unwrap();
I've run into one issue though. With a completely new SD card it did not work
on first try. I've first had to create a new partition with W95 FAT32 (LBA)
type, because otherwise the embedded_sdmmc crate would not allow me to
access it. One fdisk and one mkfs.fat command later it worked fine though!
Because everything went so easily, I wanted to push my example upstream. There was not an example for accessing an SD card in the rp-pico board support of rp2040-hal crate yet. So I decided to cleanup my hacky example and even document my progress in the SD/MMC SD Card rp-pico board example. Most notably is the little ASCII diagram of how to connect the SD card to the Raspberry Pi Pico:
                       +3.3V
             Pull Ups ->||||
                    4x[5kOhm]
                        ||| \
     _______________    |||  \
    |     DAT2/NC  9\---o||   \                            _|USB|_
    | S   DAT3/CS   1|---o+----+------SS--\               |1  R 40|
    | D   CMD/DI    2|----o----+-----MOSI-+-\             |2  P 39|
    |     VSS1      3|-- GND   |          | |         GND-|3    38|- GND
    | C   VDD       4|-- +3.3V |  /--SCK--+-+----SPI0 SCK-|4  P 37|
    | A   CLK/SCK   5|---------+-/        | \----SPI0 TX--|5  I 36|- +3.3V
    | R   VSS2      6|-- GND   |  /--MISO-+------SPI0 RX--|6  C   |
    | D   DAT0/DO   7|---------o-/        \------SPI0 CSn-|7  O   |
    |     DAT1/IRQ  8|-[5k]- +3.3V                        |       |
     """"""""""""""""                                     |       |
                                                          |       |
                                                          .........
                                                          |20   21|
                                                           """""""
    Symbols:
        - (+) crossing lines, not connected
        - (o) connected lines
The code is much more refined and cleaned up as you can see in a snippet here:
    match cont.open_file_in_dir(&mut volume, &dir, "O.TST", Mode::ReadWriteCreateOrTruncate) {
        Ok(mut file) => {
            cont.write(&mut volume, &mut file, b"\x42\x1E").unwrap();
            cont.close_file(&volume, file).unwrap();
        }
        Err(e) => {
            error!("Error opening file 'O.TST': {}", defmt::Debug2Format(&e));
            blink_signals_loop(&mut led_pin, &mut delay, &BLINK_ERR_6_SHORT);
        }
    }
I even added a simple debug output using the single LED on the Raspberry Pi Pico.
Controlling an WS2812 RGB LED Strip with Rust and the Raspberry Pi Pico
Because it was so fun, I also cleaned up my old WS2812 RGB LED embedded Rust example for the Raspberry Pi Pico which uses the ws2812-pio-rs crate by ithinuel in combination with the smart-leds crate.
My ASCII art skills were demanded once again:
     _______________      /----------------------\
    |+5V  /---\  +5V|----/         _|USB|_       |
    |DO <-|LED|<- DI|-\           |1  R 40|-VBUS-/
    |GND  \---/  GND|--+---\      |2  P 39|
     """""""""""""""   |    \-GND-|3    38|
                       |          |4  P 37|
                       |          |5  I 36|
                       \------GP4-|6  C   |
                                  |7  O   |
                                  |       |
                                  .........
                                  |20   21|
                                   """""""
And here a little code snippet from the WS2812 RGB LED embedded Rust example for the Raspberry Pi Pico:
    loop {
        for (i, led) in leds.iter_mut().enumerate() {
            // An offset to give 3 consecutive LEDs a different color:
            let hue_offs = match i % 3 {
                1 => 0.25,
                2 => 0.5,
                _ => 0.0,
            };

            let sin_11 = sin((t + hue_offs) * 2.0 * core::f32::consts::PI);
            // Bring -1..1 sine range to 0..1 range:
            let sin_01 = (sin_11 + 1.0) * 0.5;

            let hue = 360.0 * sin_01;
            let sat = 1.0;
            let val = 1.0;

            let rgb = hsv2rgb_u8(hue, sat, val);
            *led = rgb.into();
        }

        // Here the magic happens and the `leds` buffer is written to the
        // ws2812 LEDs:
        ws.write(brightness(leds.iter().copied(), strip_brightness))
            .unwrap();

        // Wait a bit until calculating the next frame:
        frame_delay.delay_ms(16); // ~60 FPS

        // Increase the time counter variable and make sure it
        // stays inbetween 0.0 to 1.0 range:
        t += (16.0 / 1000.0) * animation_speed;
        while t > 1.0 {
            t -= 1.0;
        }
    }
I've never written microcontroller code as straight forward and easily as with the embedded Rust ecosystem. Here a few crates and links at the core of all these:
- rp-hal - Hardware Abstraction Layer for the Raspberry Silicon RP2040 microcontroller
- rp-pico - Board Support for the Raspberry Pi Pico
- Rust Hardware Abstraction Layer (HAL) for embedded systems
Improving rp-pico Documentation
Last notably I also spent some time on improving the documentation of the board support in rp-pico: improved rp-pico pin documentation. A pull request upstream has been submitted. I hope it improves the documentation a bit, so that others that dive into this ecosystem have a slightly better experience. That is not to say that I did not have a good experience. But I believe the Rust crates for the Raspberry Pi Pico deserve better documentation.
Links of the Week
I've collected a few links this week too that I don't want to forget right now:
- https://jott.se/blog/infrared/ - Tutorial how to use the infrared crate in an embedded Rust project!
- https://www.sbprojects.net/knowledge/ir/ - Good resource of IR remote control theory.
