WeirdCube 3D Printer - Devlog 2 - The Frame
In this development log article of the WeirdCube 3D Printer I show how I cut and assembled the frame.
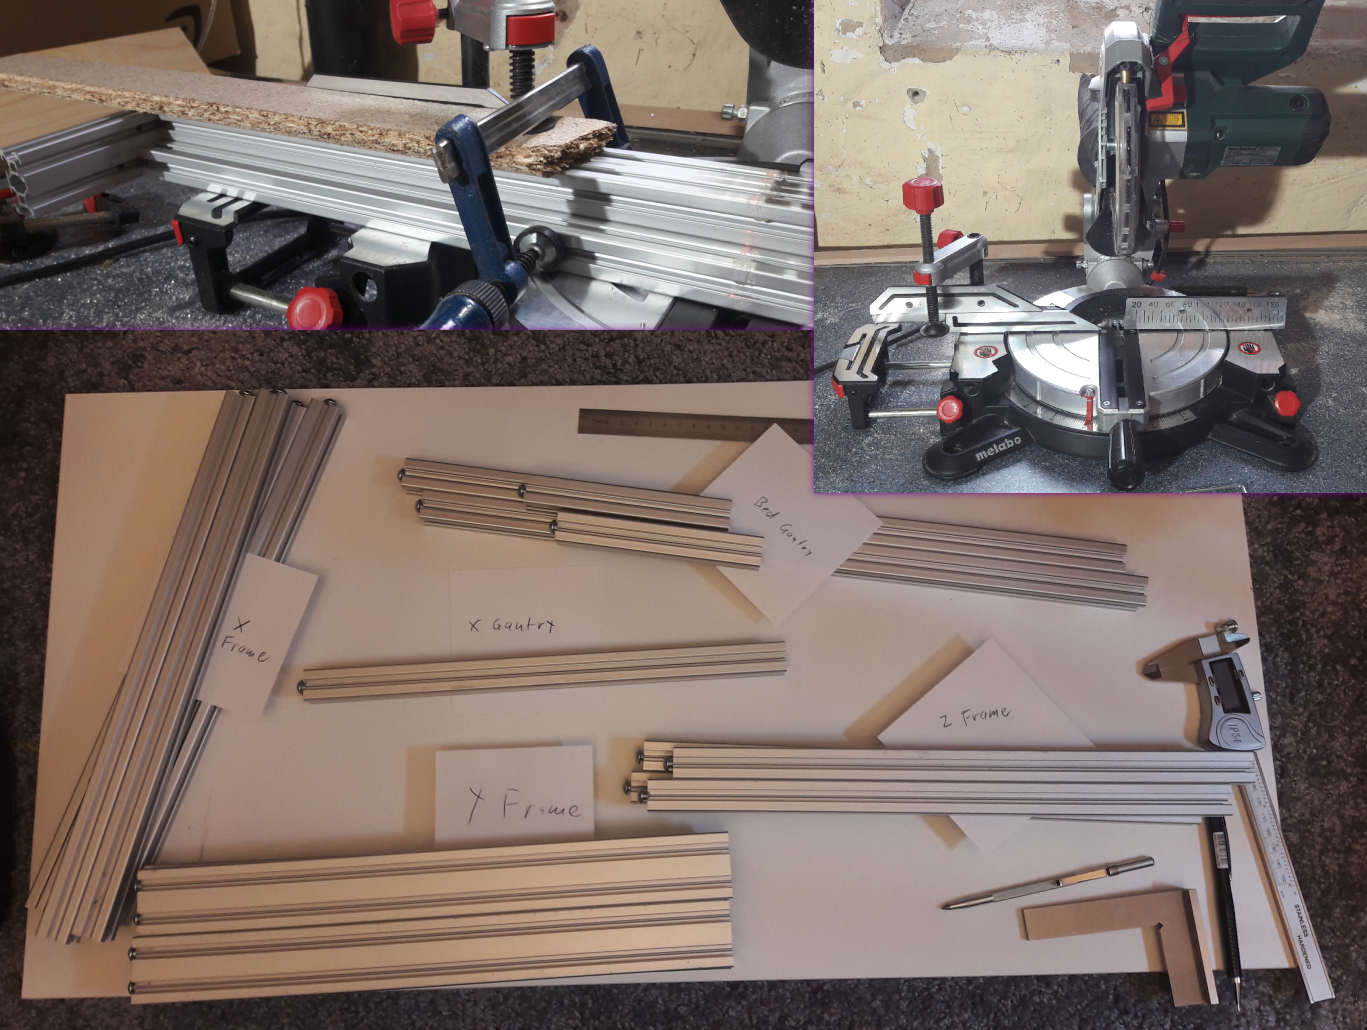
The first step was constructing a rough model of the WeirdCube in Blender. At least to the degree that the bed gantry and all important components found their place. I did not fully model all parts. But I got to a state where I knew the frame would not change anymore. The main requirement for the printer was, that it was to fit within my 380mm high shelf. So I finished the frame design and made a list of extrusion sizes I needed:

I changed the front X extrusion to be at the top and allow view onto the print head later, but the measurements were final. Here is a detailed view which extrusions are required and their measurements:

The goal was to use blind joints to build the gantry. It's cost effective and looks nice in the end. For reference, this is a blind joint:

Cutting The Frame Extrusions
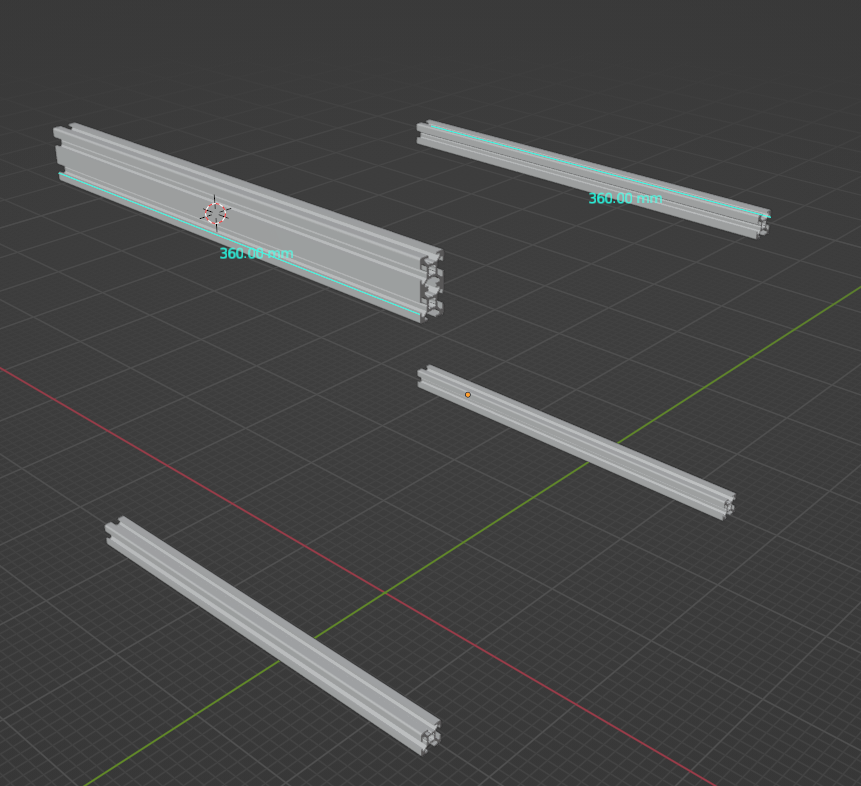
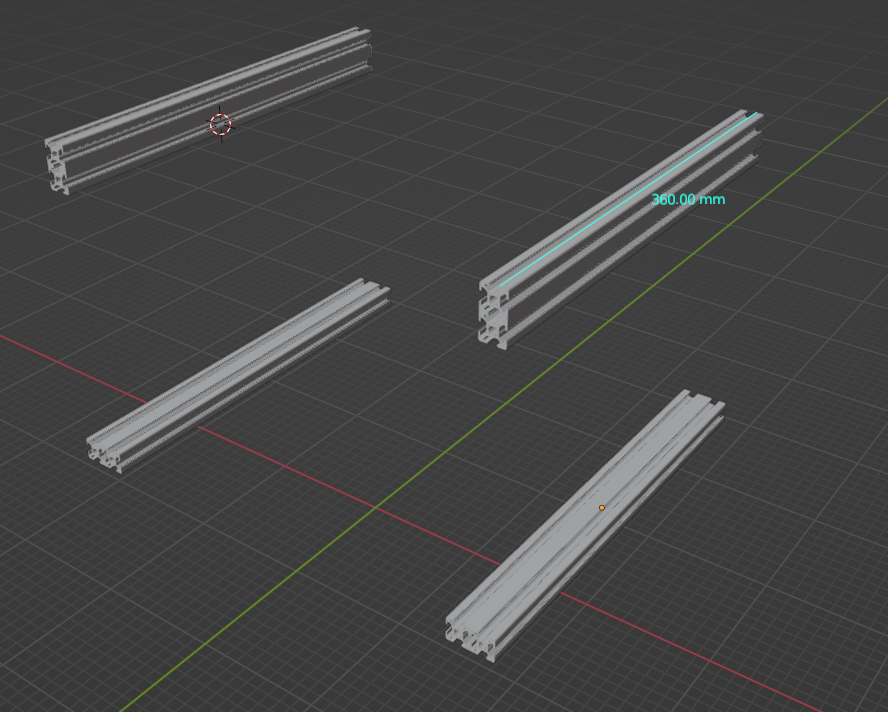
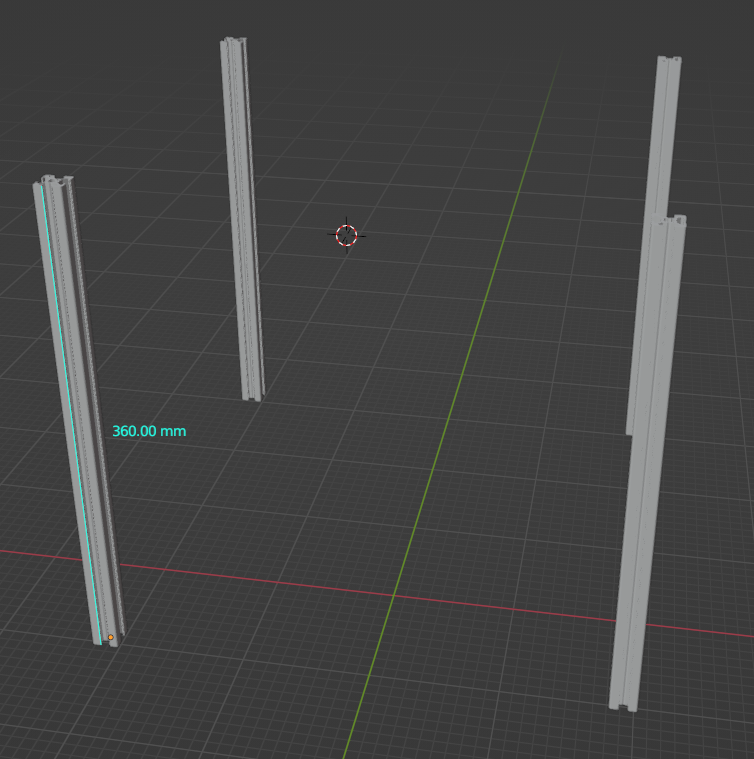
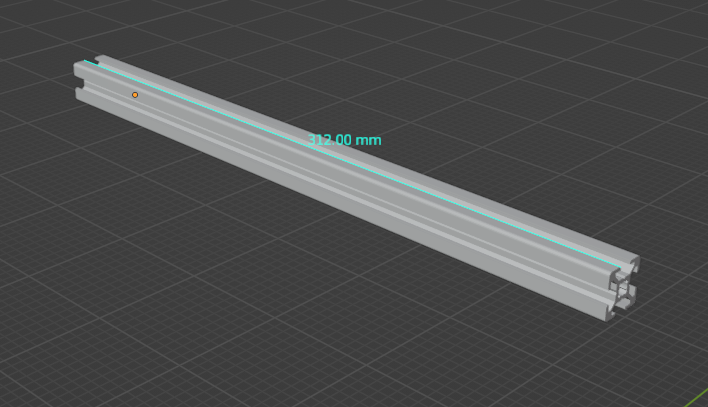
I bought a pack of 12 500mm 20x20 aluminum extrusions with a 6mm groove. And 6 20x40 extrusions. From those I wanted to cut the parts of the frame.
In retrospection I should probably saved the time and ordered them in the right length in the first place. That was until I discovered that the shop I bought the extrusions from has a cutting tolerance of 0.2-0.3mm. If each extrusion would be off by ~0.2mm, I would have a hard time to make a square frame. Especially after discovering that the profile ends are not cut square either.
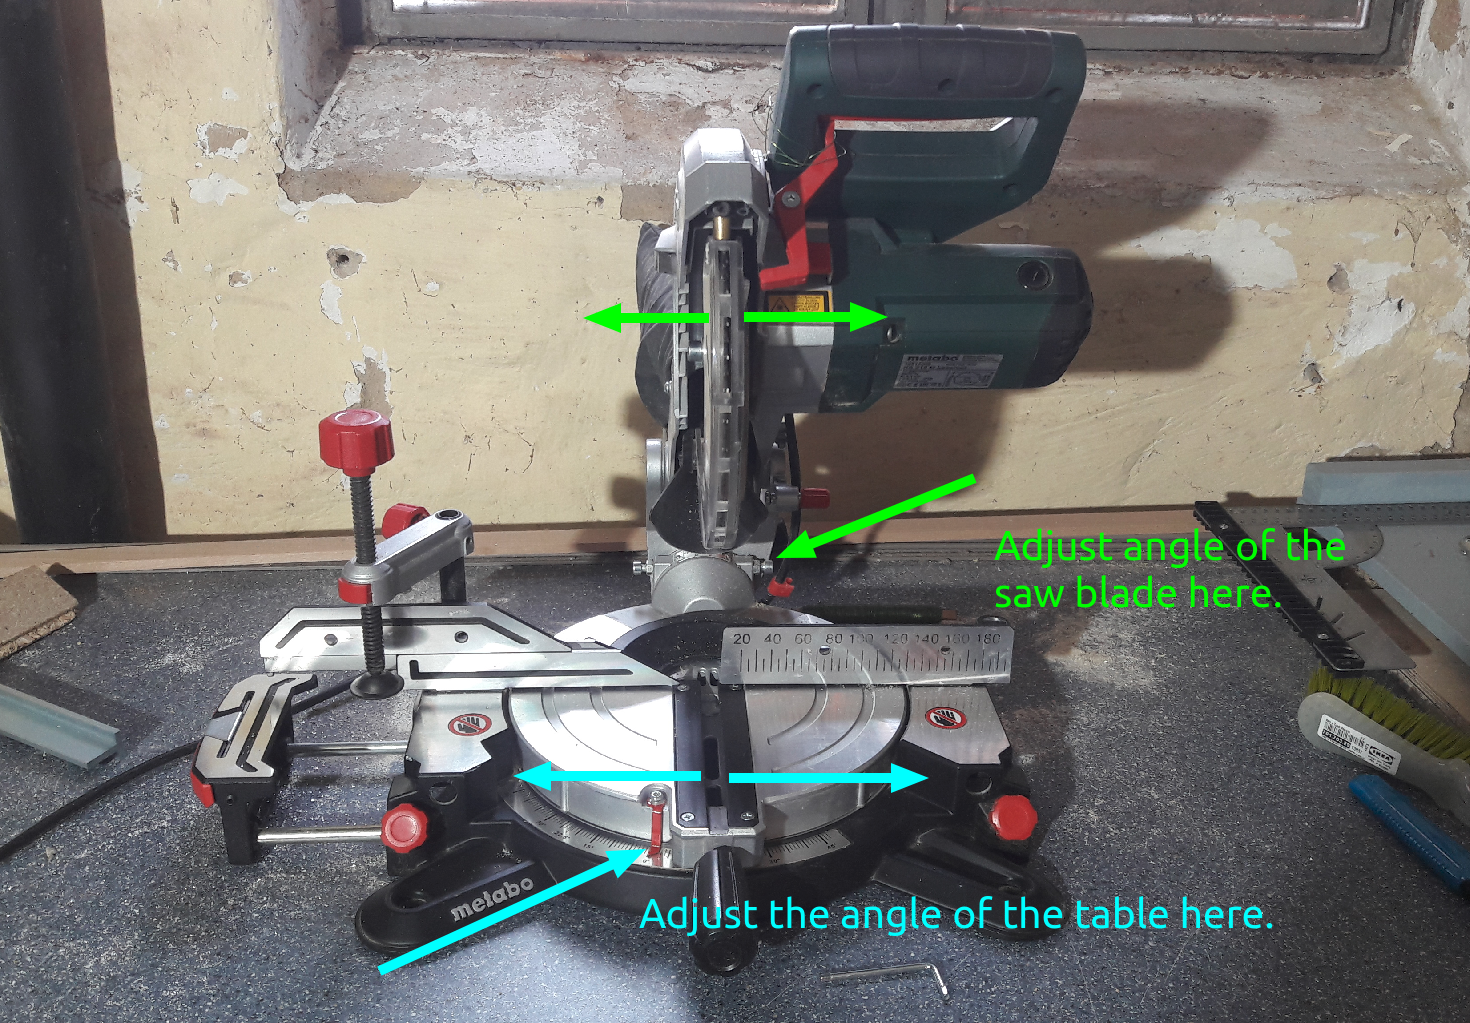
But first things first. I wondered how to cut the extrusions as perfectly as possible with my good old trusty drop saw:
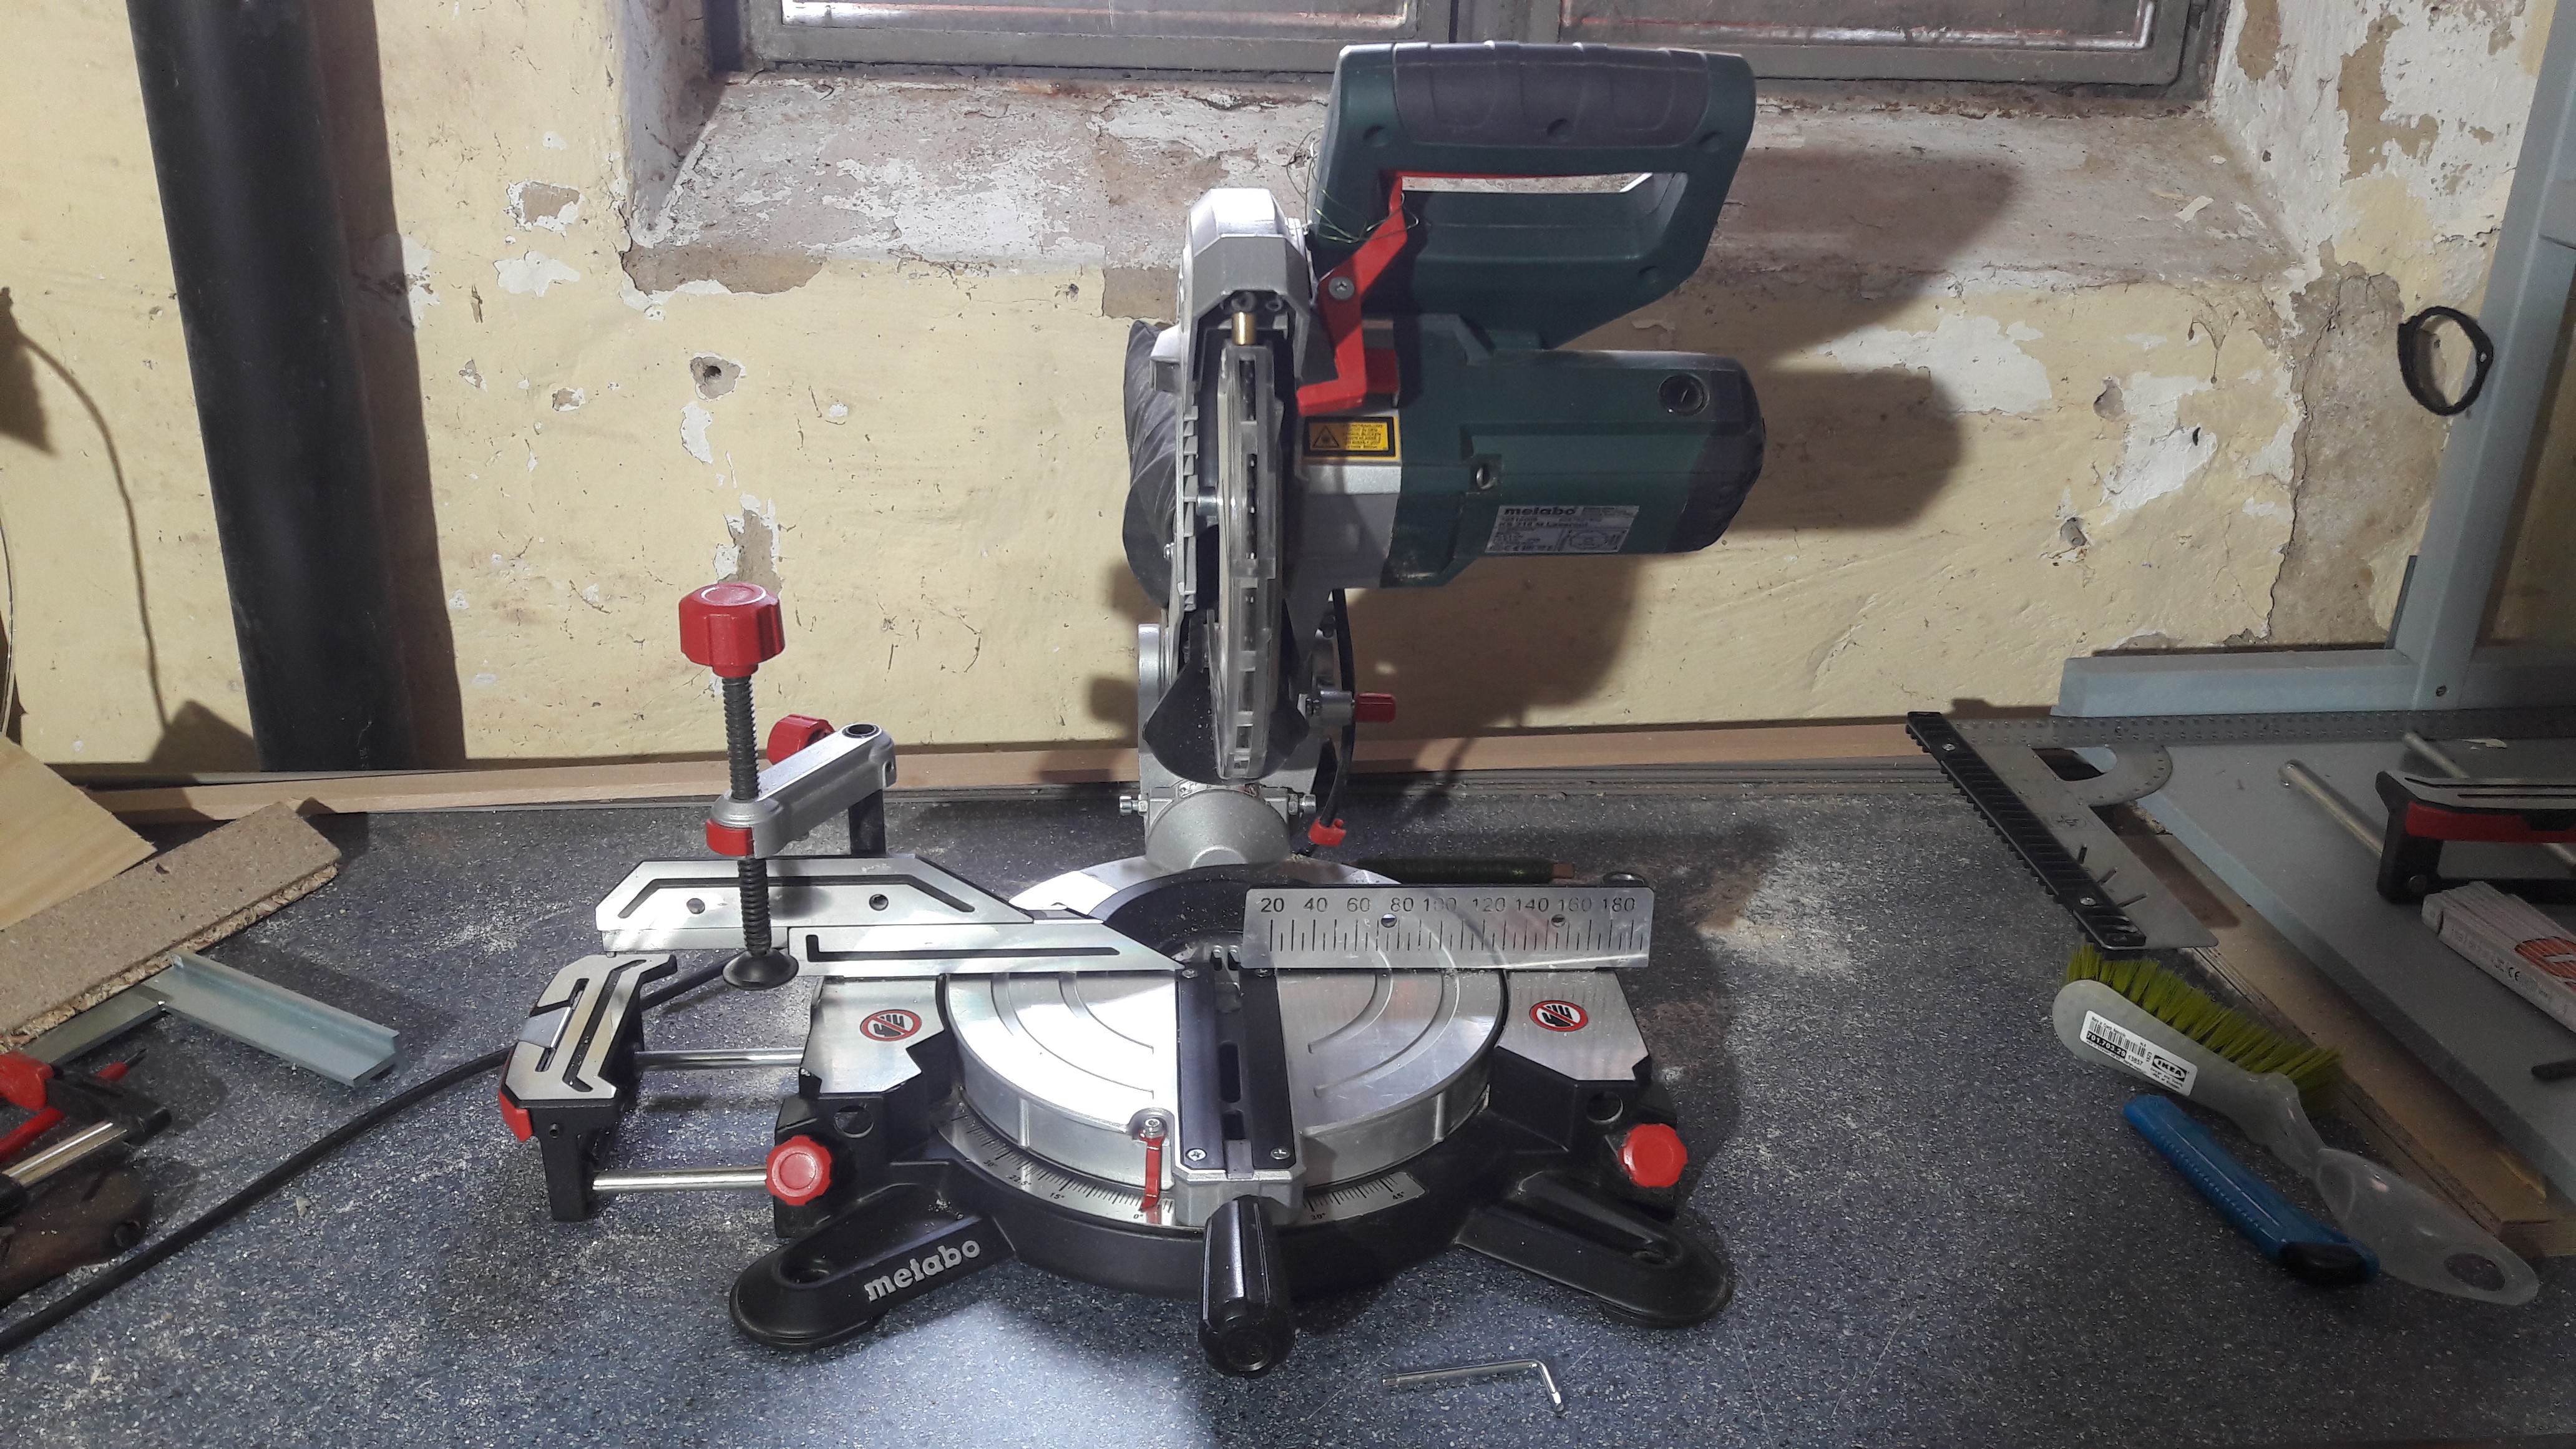
I adjusted the drop saw at these points as good as I could using steel square:
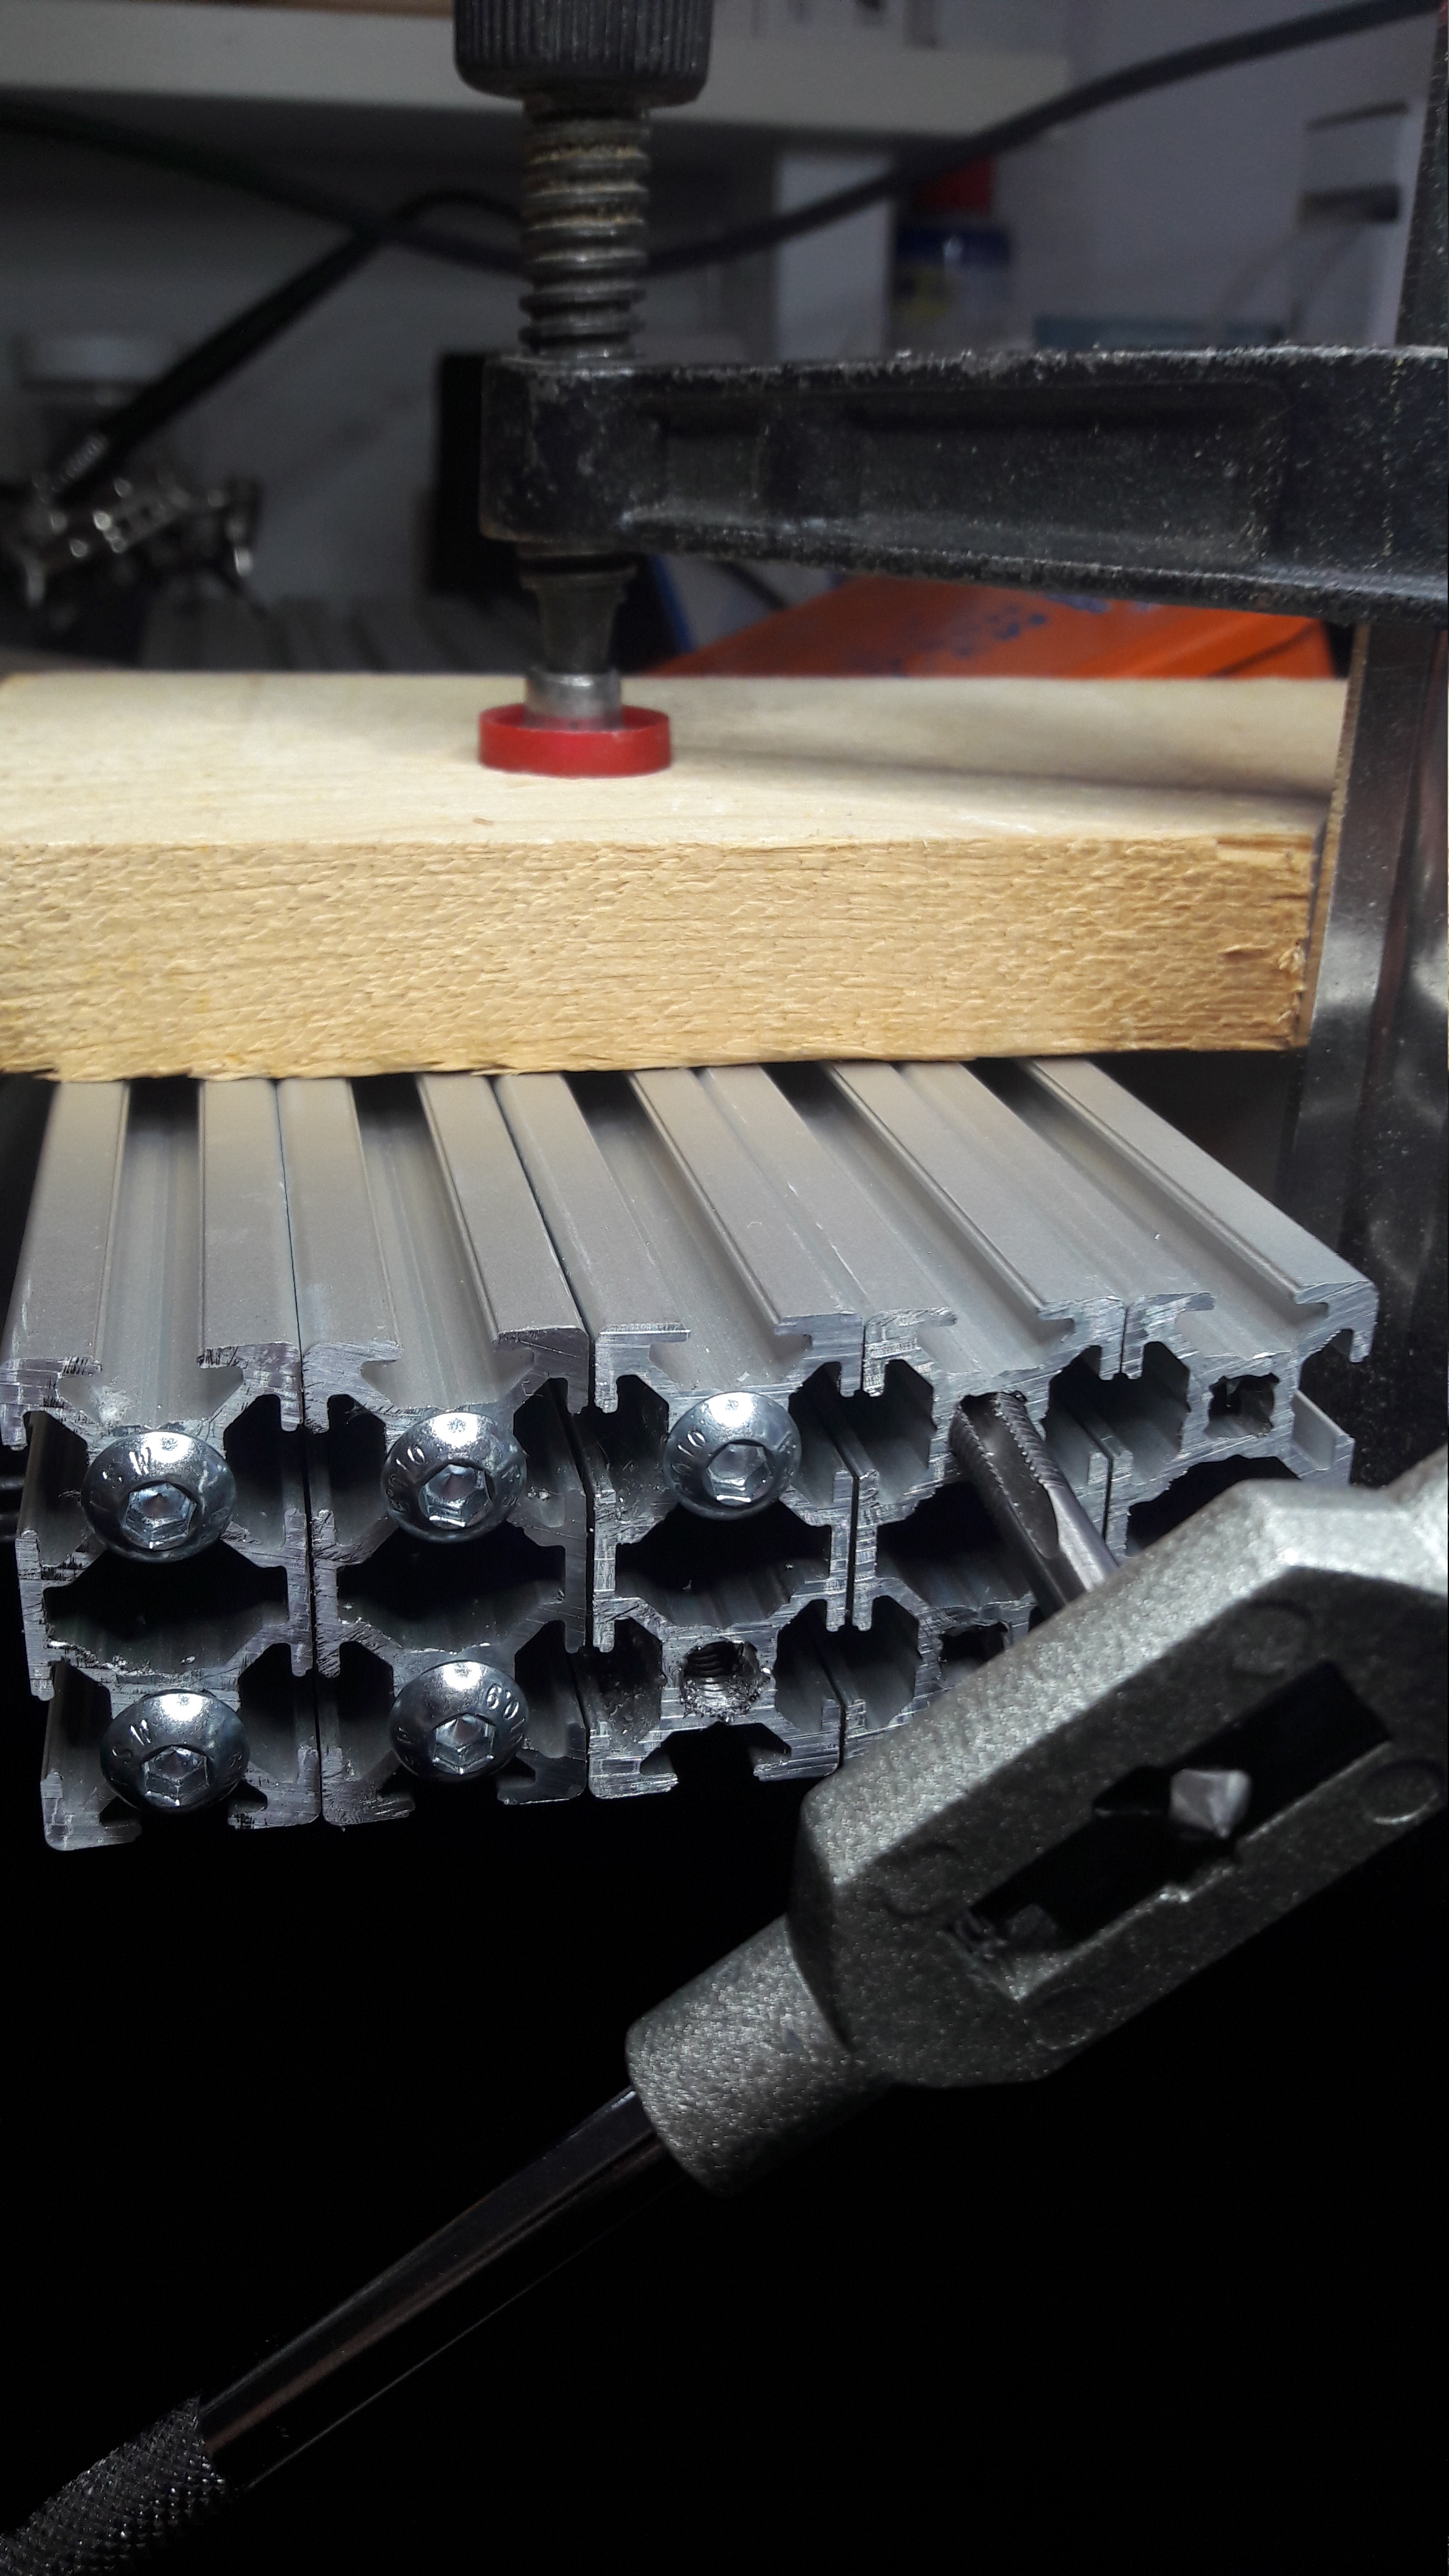
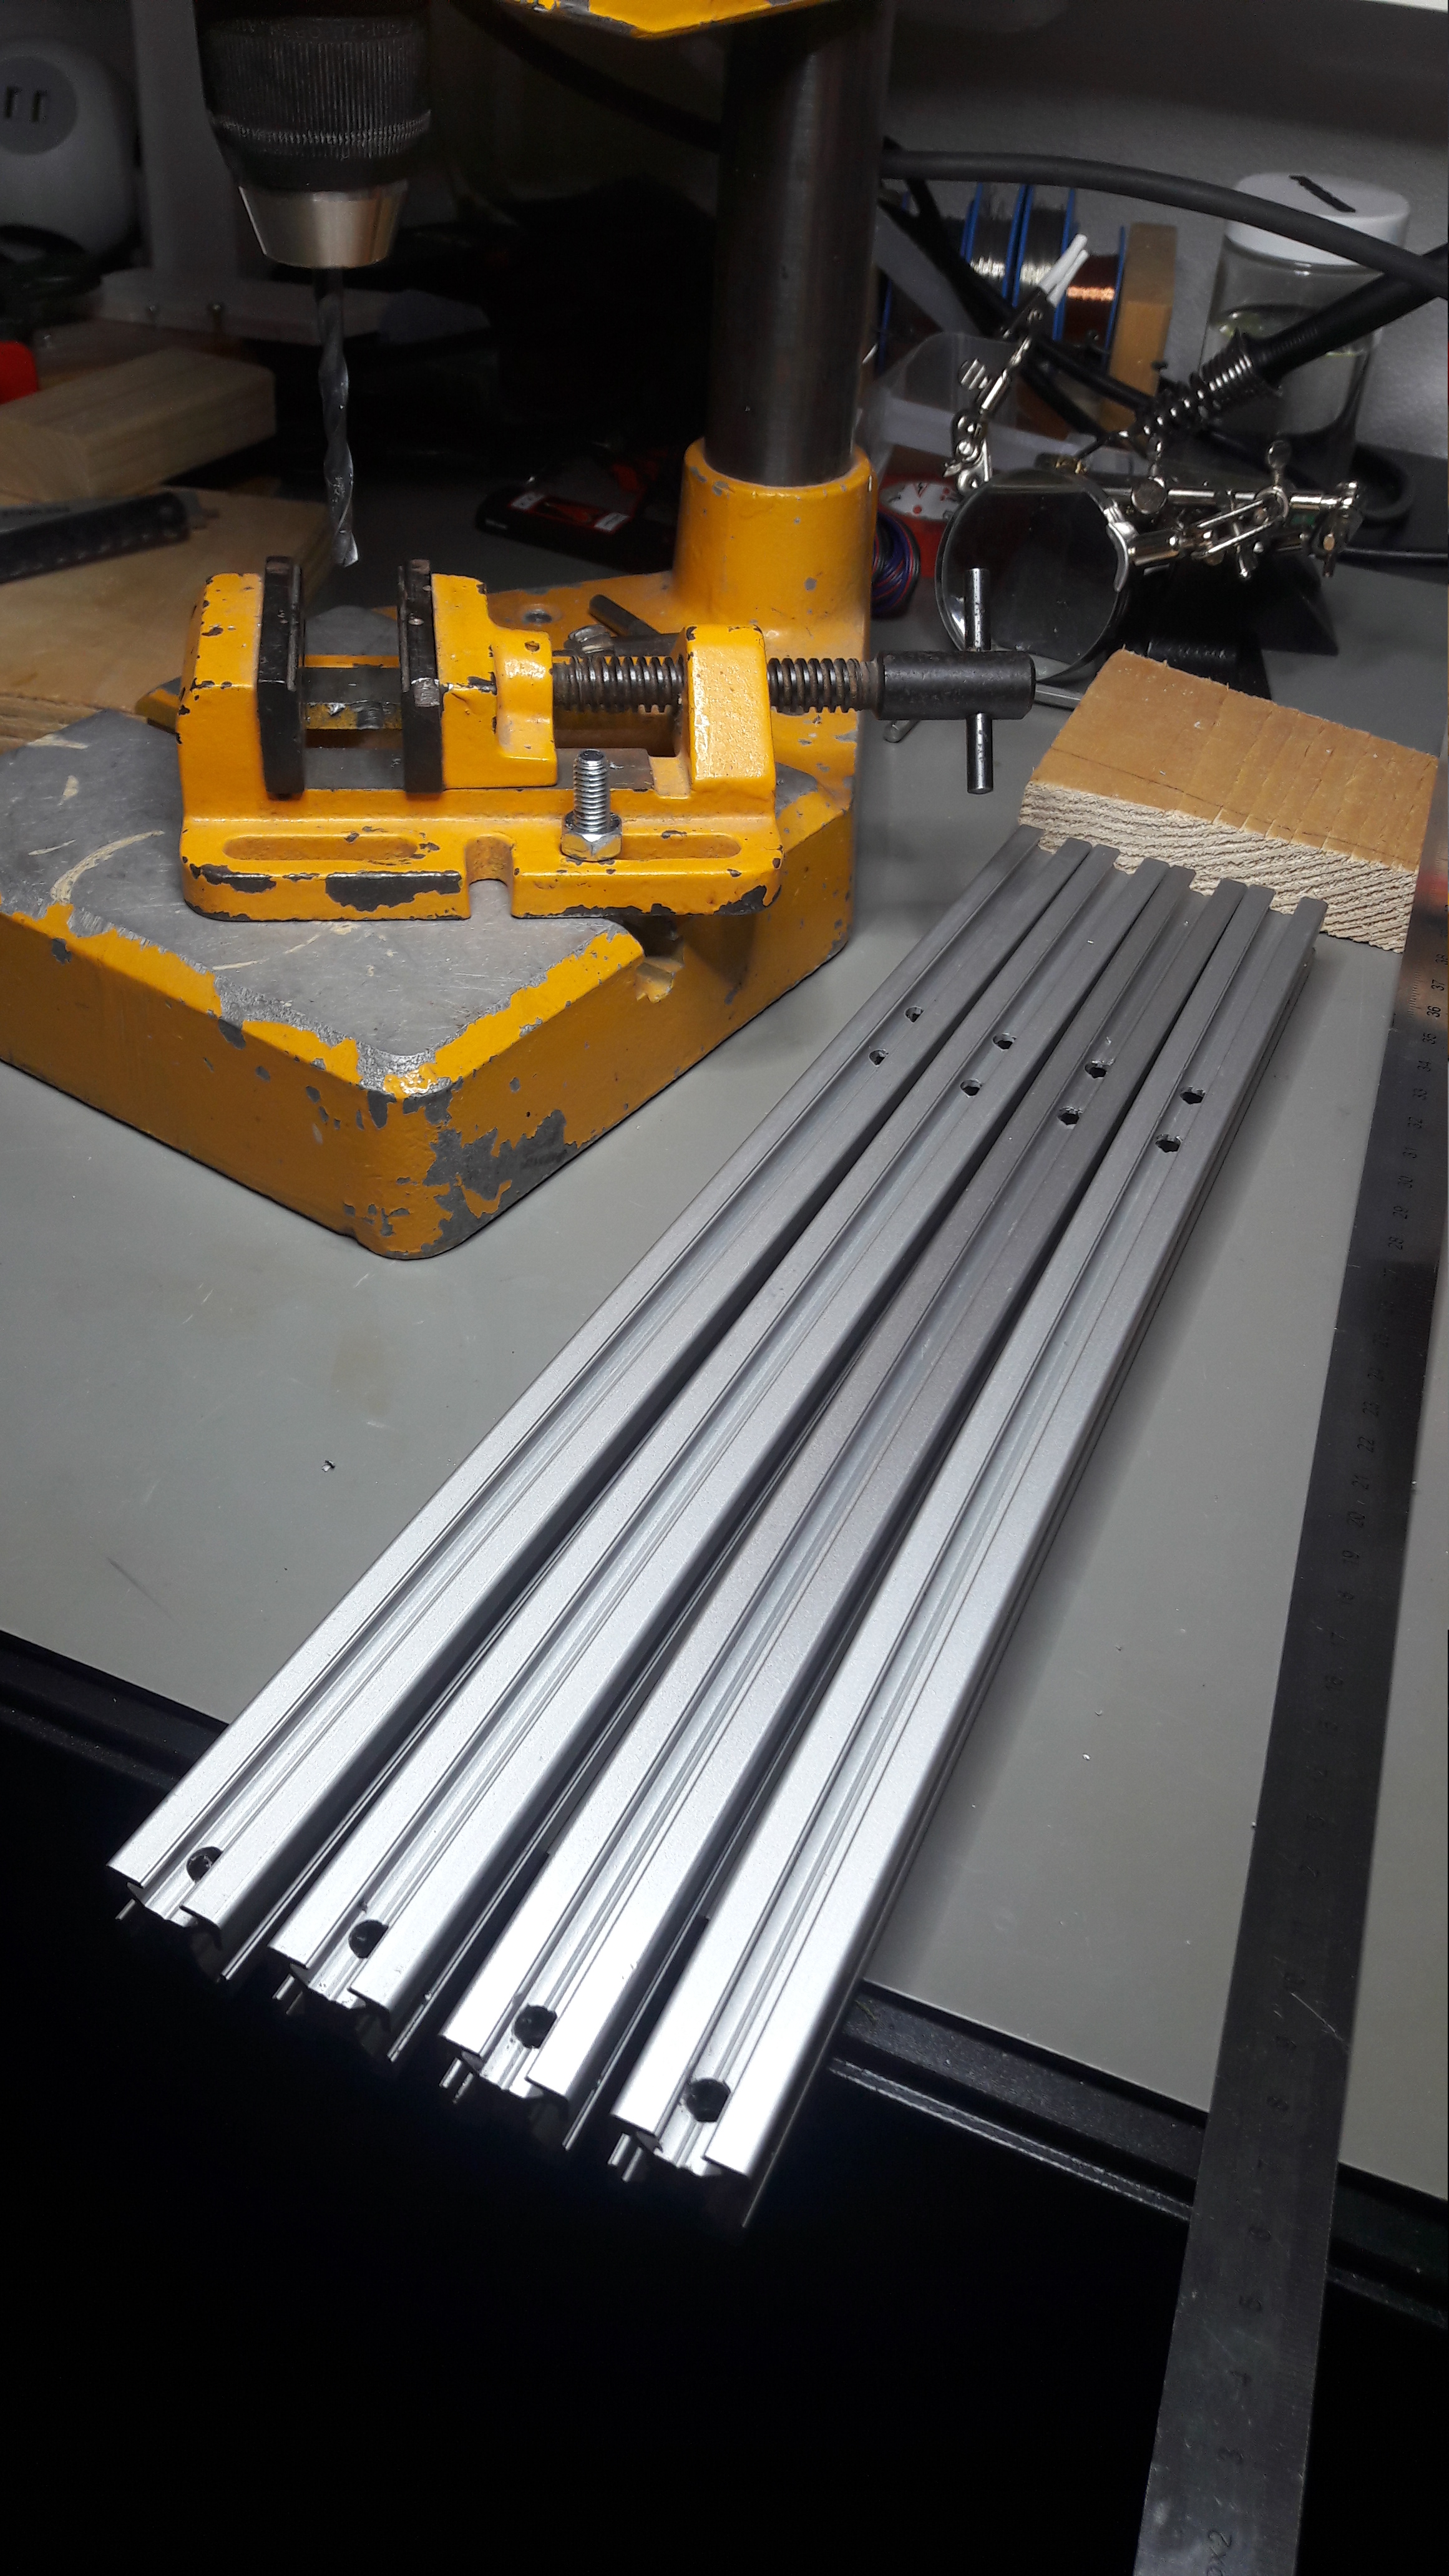
Then I cut off a small piece of 20x40 and drilled a few holes in it with 20mm distance to each other. The plan was to use blind joints already at this point for cutting the extrusions for each axis. The helper part then looked like this:
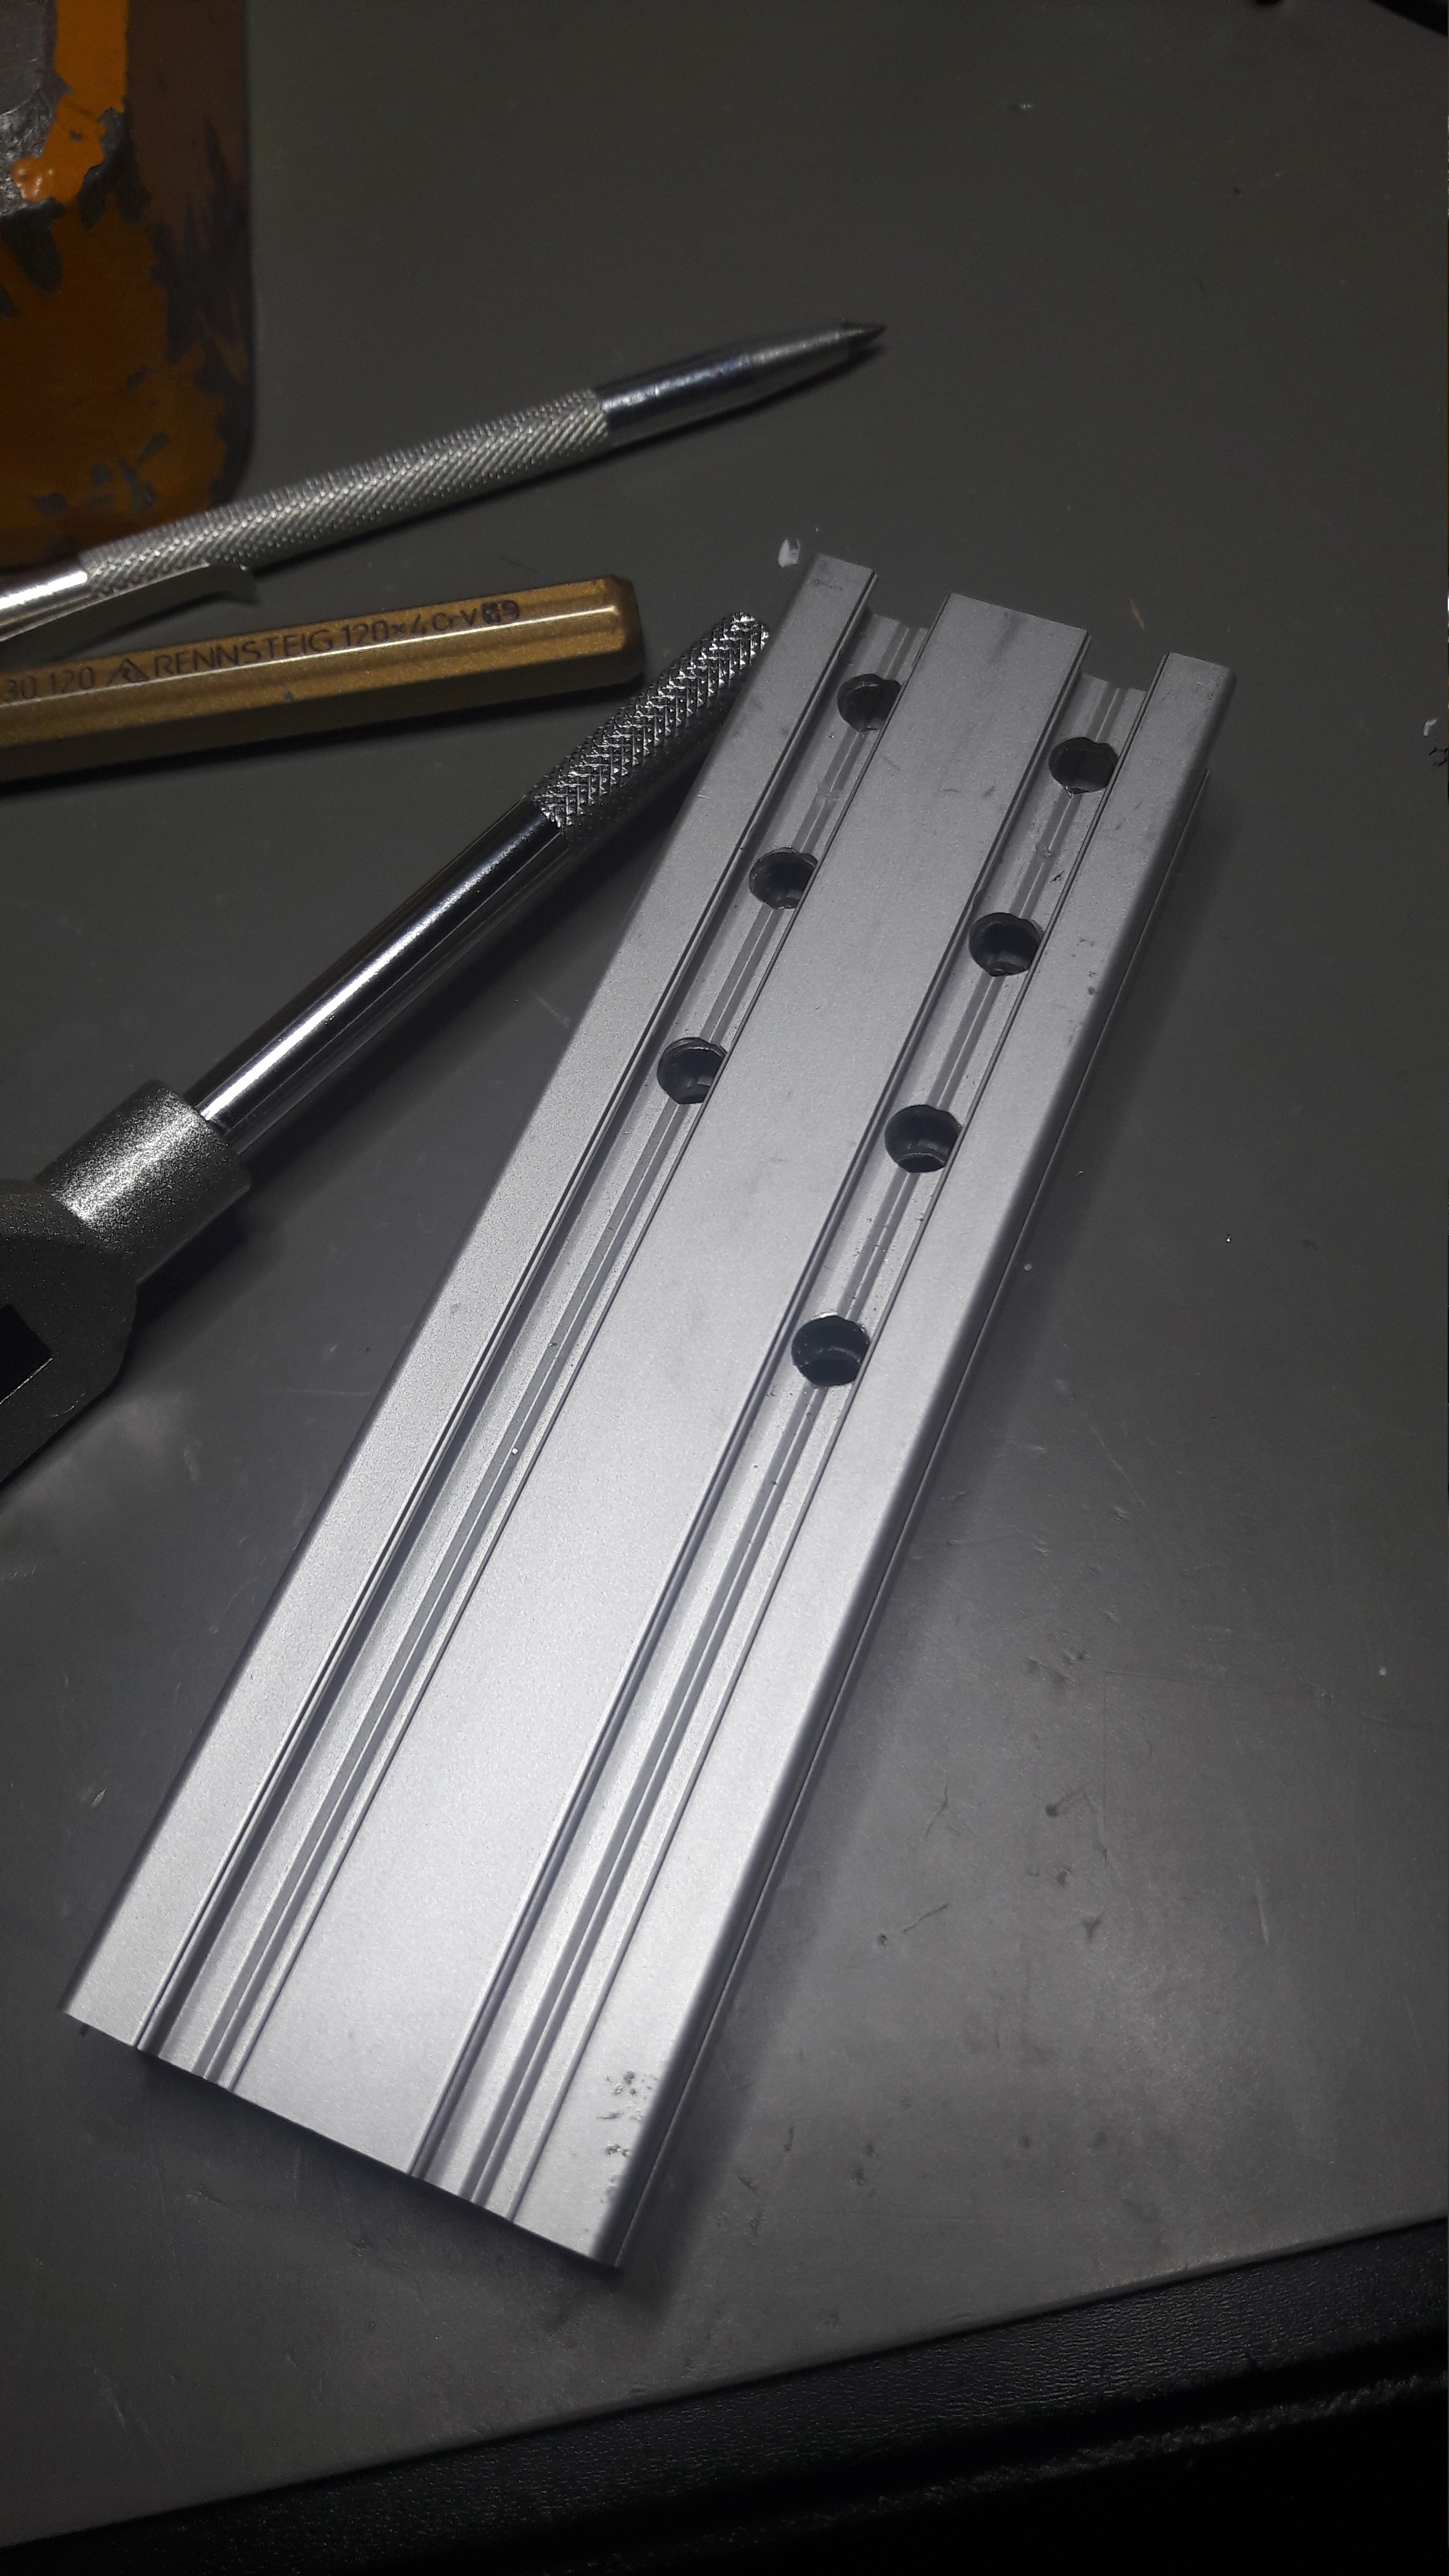
Next step was drilling the threads into one end of all the extrusions:
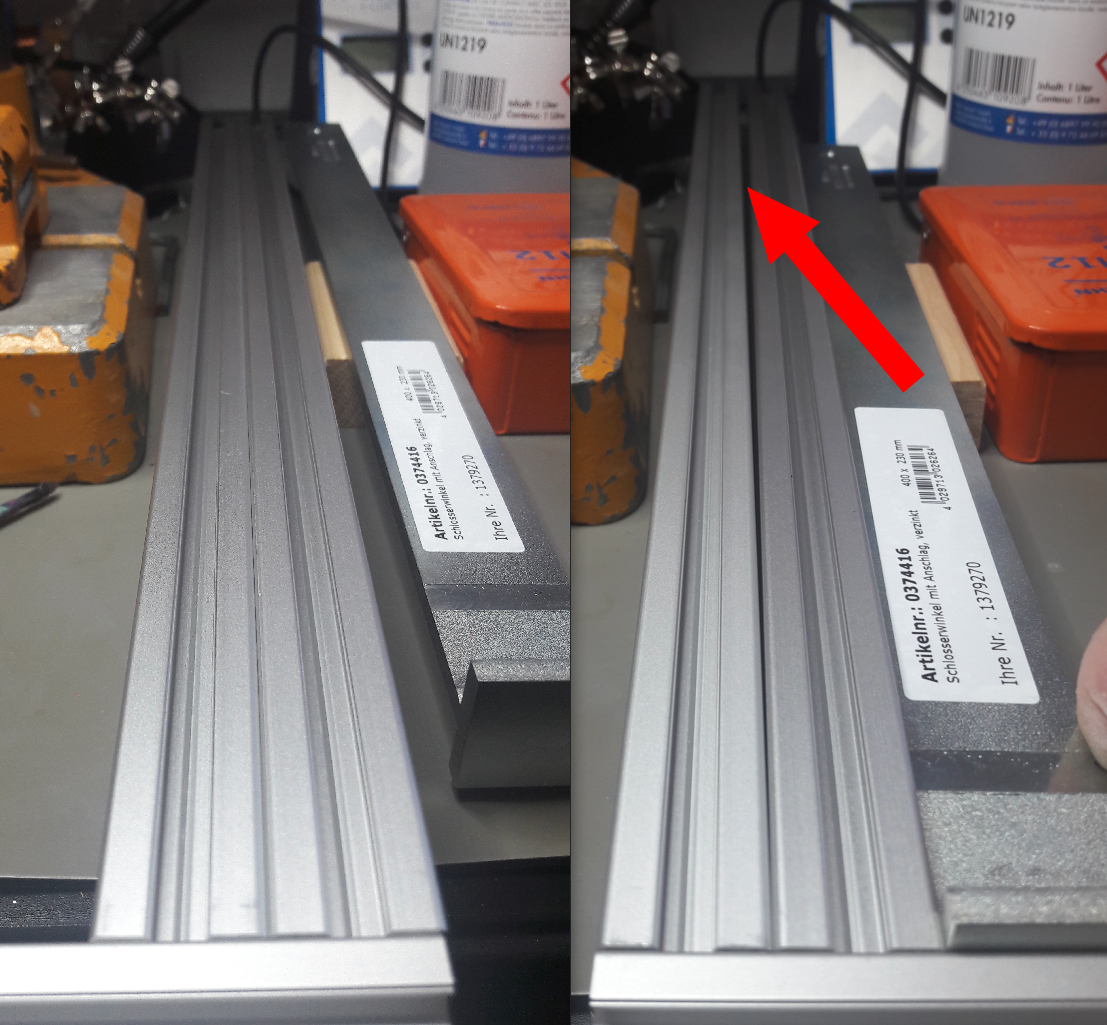
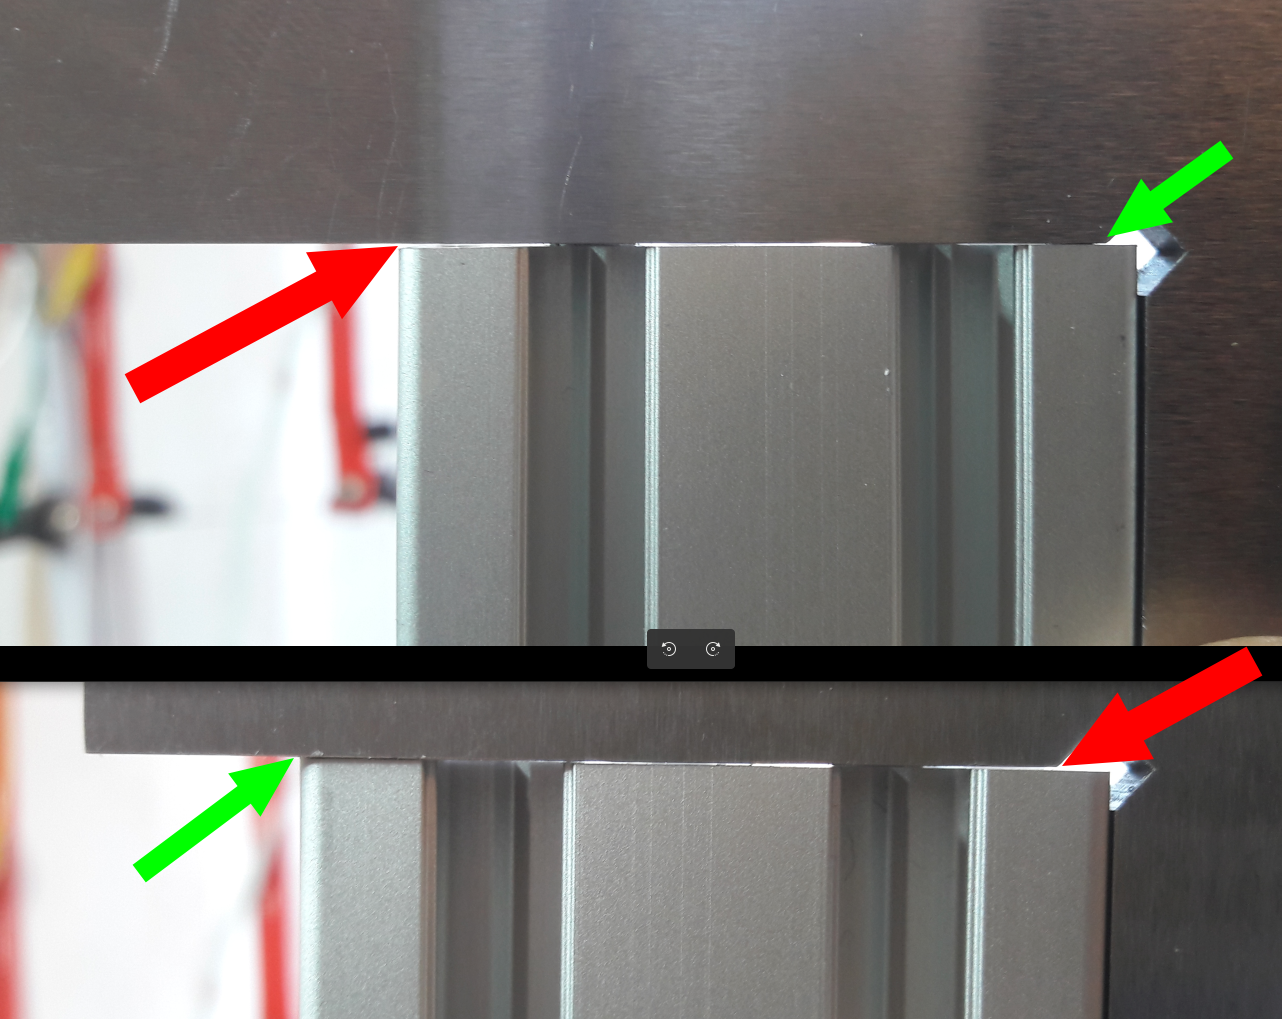
After I was done and checked if it would work I discovered what I mentioned earlier. The shop (Motedis) seemed to have a saw that had worse calibrated angles than my drop saw. After mounting the profiles were not parallel but had an angle of more than 2mm after 400mm:
I don't have a picture now of the angled cuts from the shop that cut the extrusions for me. But they were worse than what I was able to get done with my more or less well adjusted drop saw:
On two extrusions that I cut myself I used a file to make the side more perfect. But the accuracy and angle of my own saw were enough to get the frame square later.
Anyways, I started to cut the extrusions next like this:
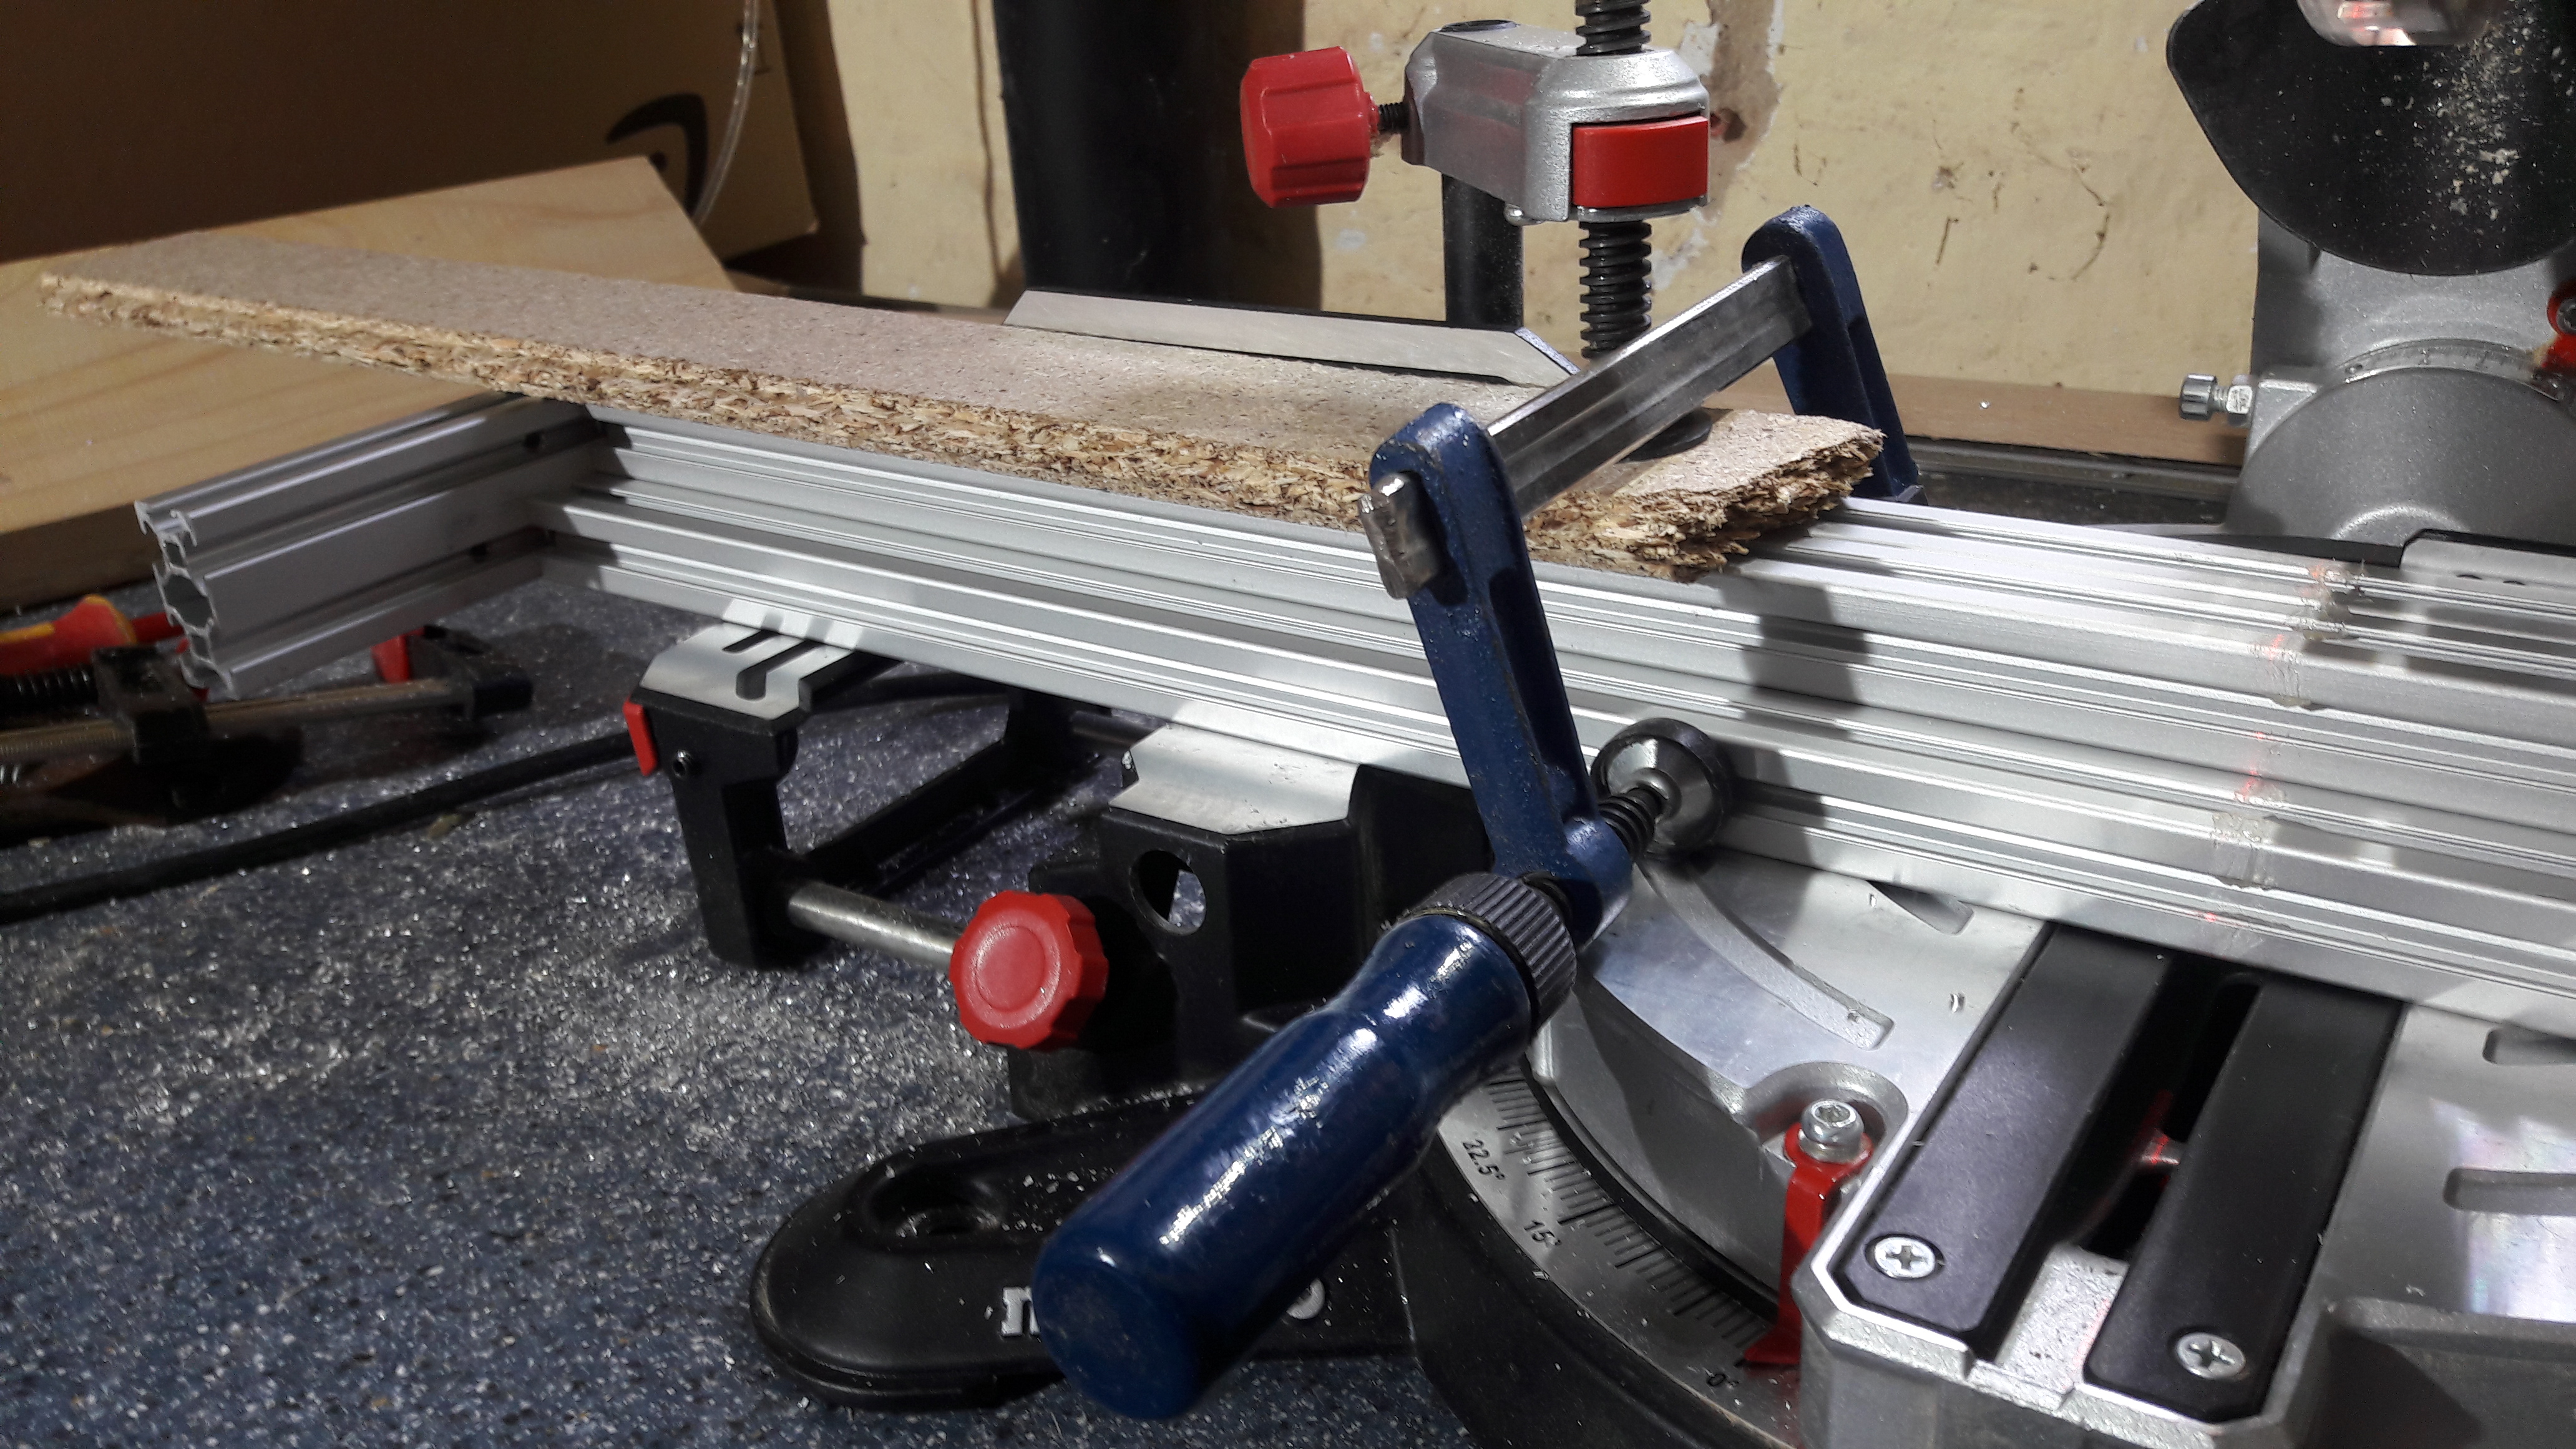
I fixated the bundled extrusions for each axis first by mounting them onto my cutting helper extrusion and then I fixed it firmly to the saw after measuring where to cut. I used some grease I put on the extrusions before cutting to give the blade a bit of lubrication. As saw blade I bought one with 80 teeth, to get super clean cuts. Note that dropping the saw very very slowly was important to get as square and precise cuts as possible. Especially also because too much pressure also increases the temperature of the blade, and I did not have any cooling solution for the blade. After a few hours (2-3) of work on a quiet weekend I was done:
After cutting I sat down and drilled the holes. I used the 3D model as reference and measured in the Blender model where the holes had to be. Most holes needed to be drilled into the Z extrusions:
The only other extrusions that needed cutting were the bottom front and back X frame extrusions and the long bed gantry extrusions.
Assembling The Frame
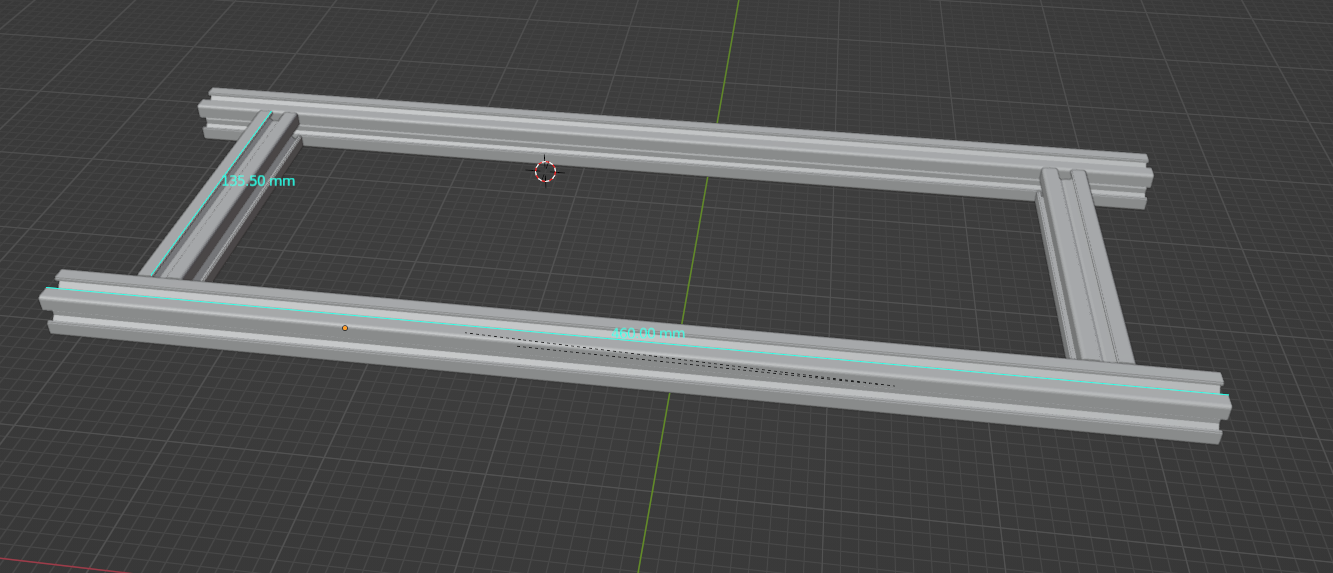
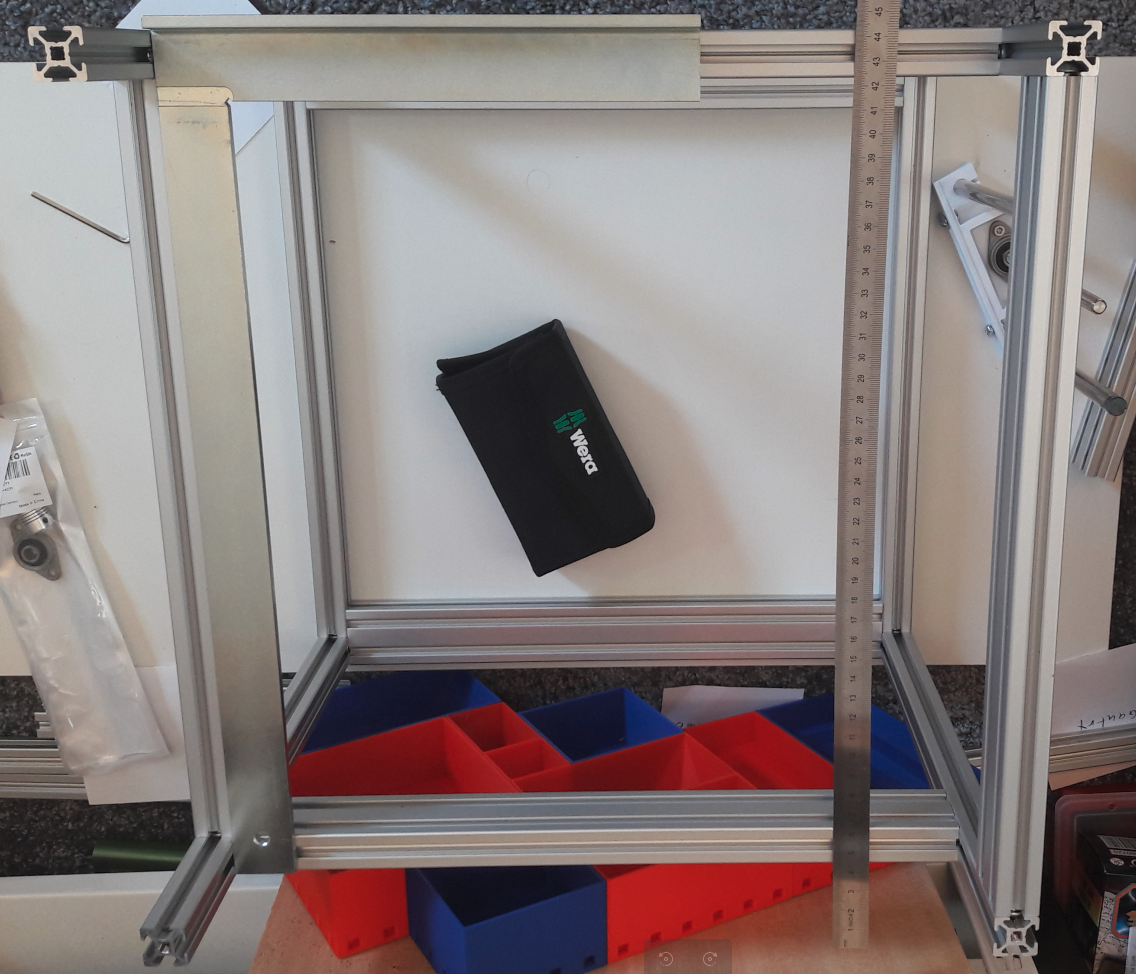
I don't have detailed pictures how to assemble the frame. But I started with the bottom frame and made it as square as possible.

Next I screwed the Z frame parts onto the bottom frame. Followed by the Y frame parts and the X frame parts. After a few times loosening and adjusting the frame I got it quite square. Using a steel square was very useful.
It was also very important to get a flat surface. For me a shelf board I got a while ago was good enough.
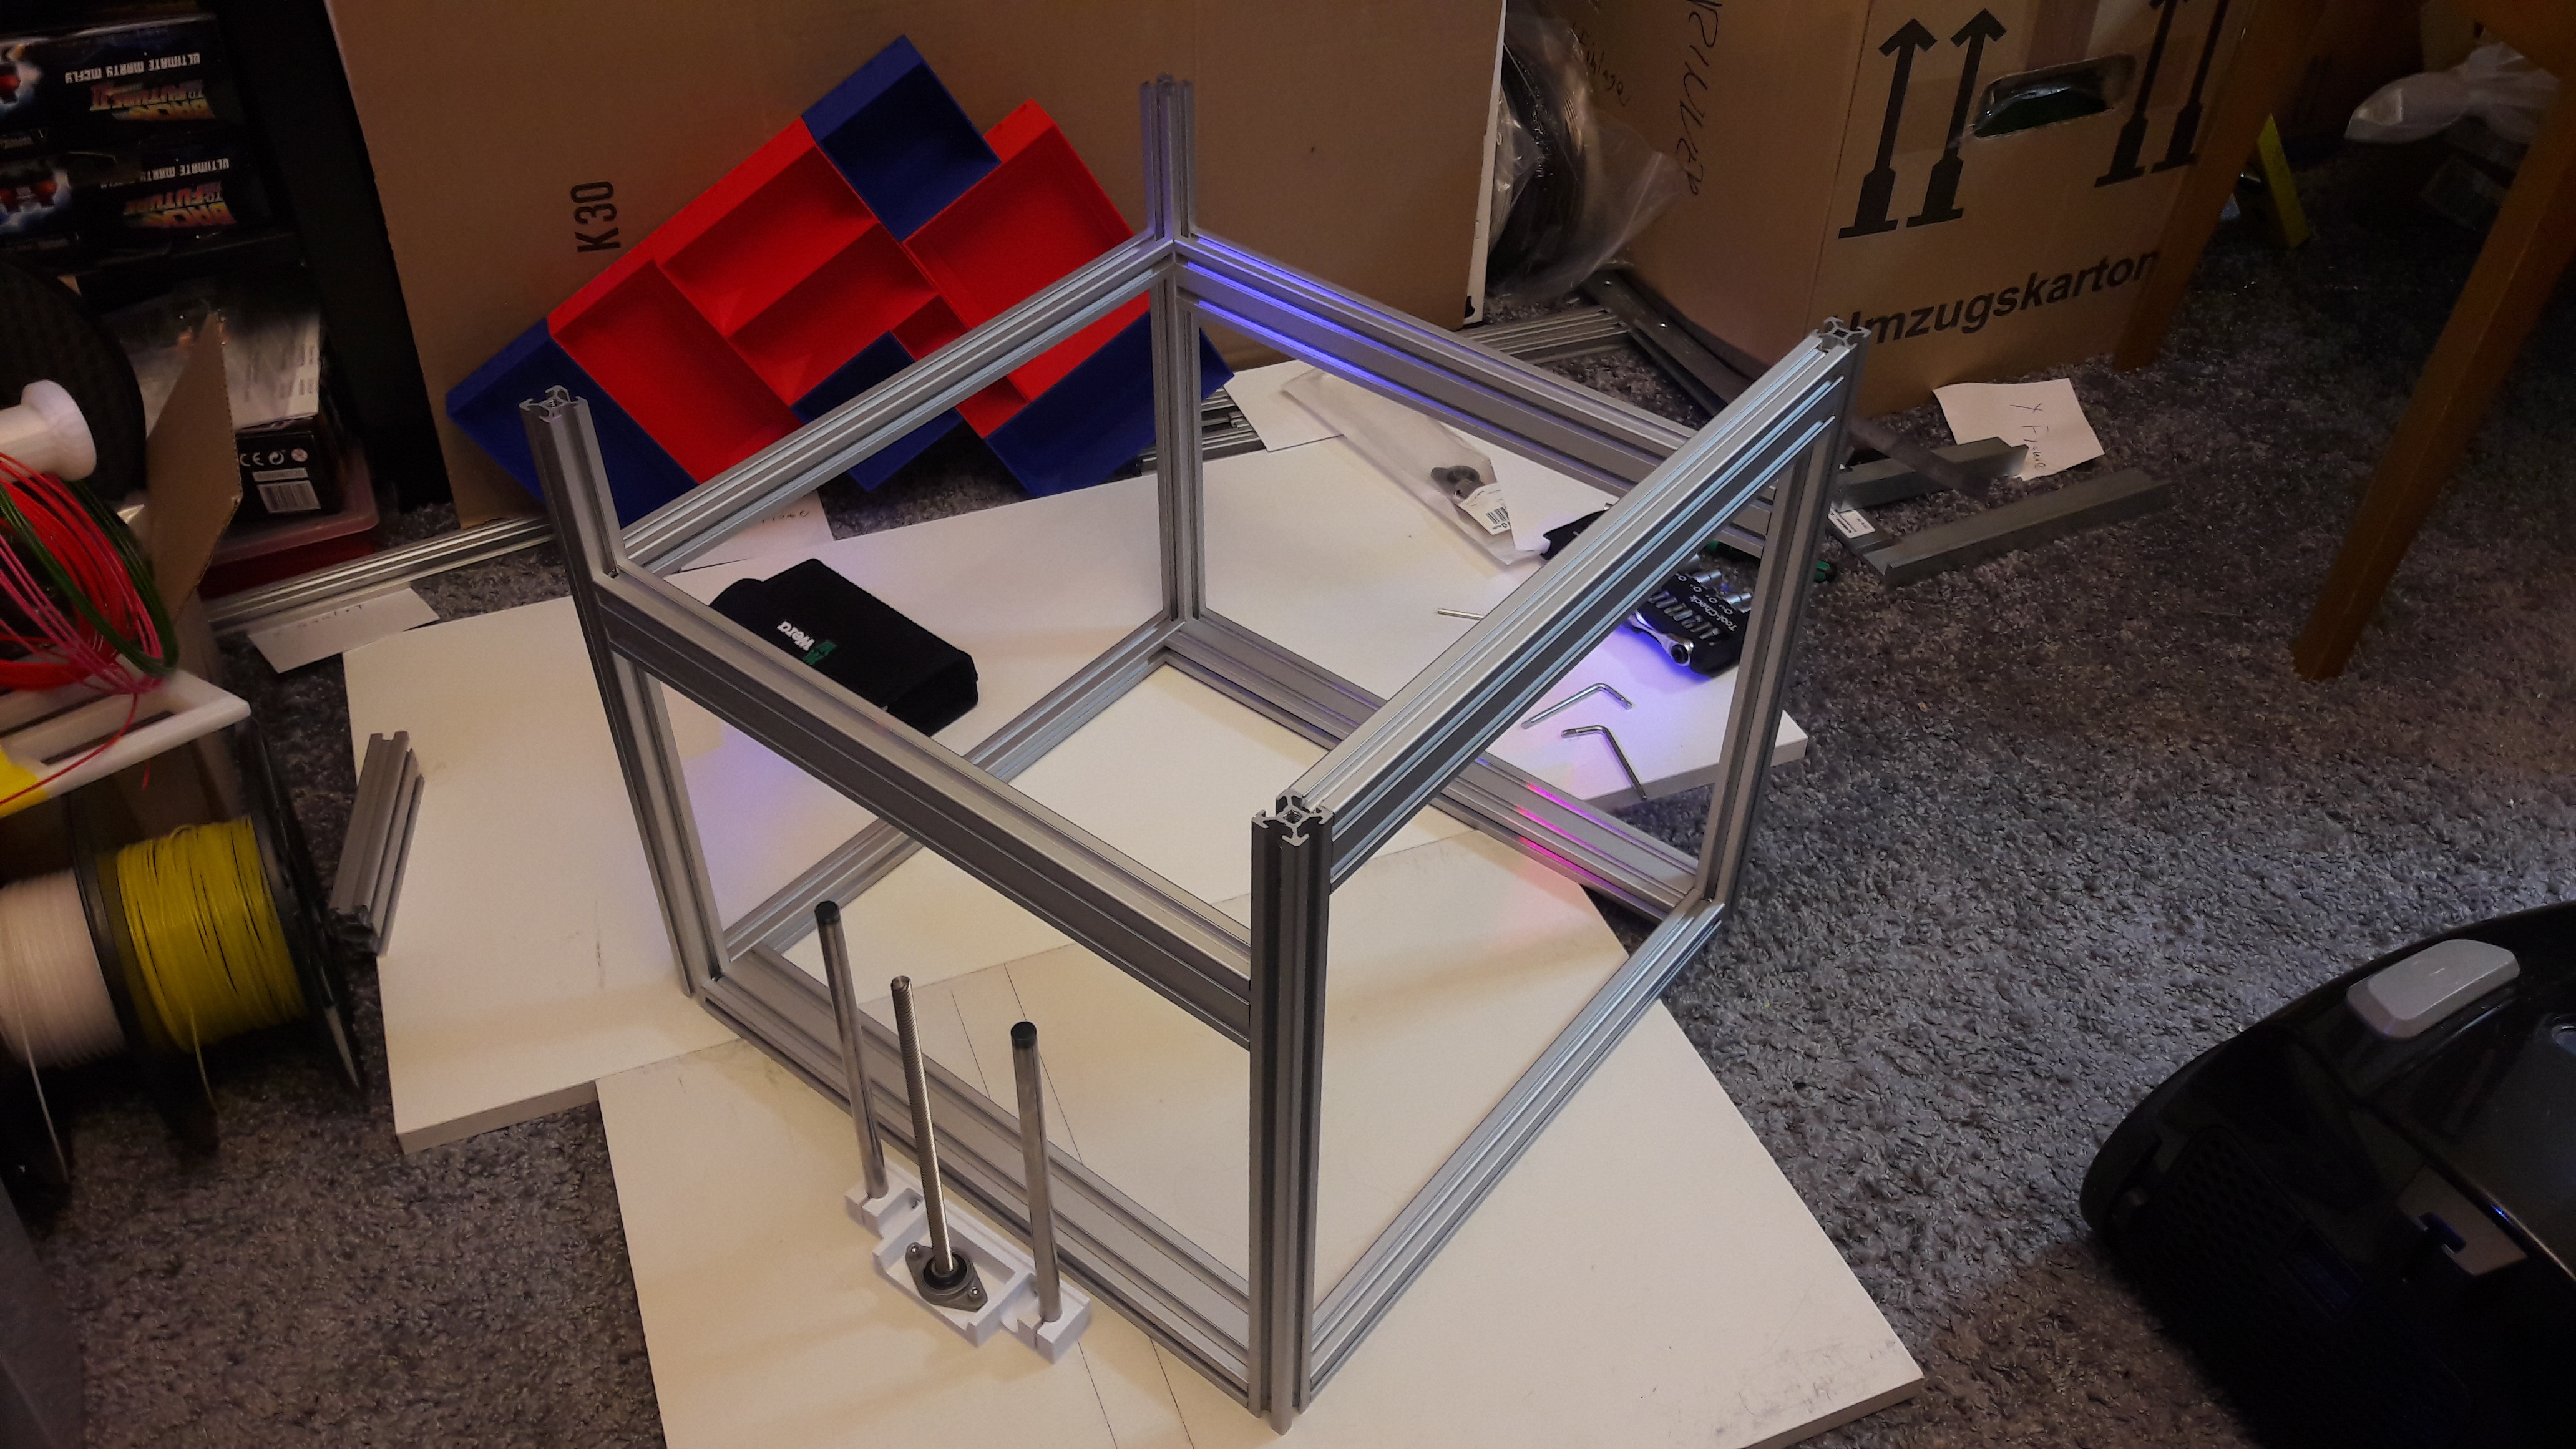
The frame ended up being quite square for my abilities. The sides were as perfectly square as I could measure. And the diagonals of the X/Y top frame were off by only 0.5mm. As reference, the VORON assembly guide states that up to 2mm difference in the diagonals are fine enough for their 3D printers.
